
Angular Routing Guide for Beginners
In a web application, routing makes it easier to move between pages. It is frequently referred to as Angular Routing in Angular. But if you’re not familiar with it yet, this blog will teach you all about. Additionally, think about enrolling in Softlogic’s Angular Certification Training to gain a thorough understanding of Angular.
Introduction to Angular Routing
In a web application, a browser often follows a recognizable navigational model like:
- Imagine that after entering a URL in the address bar, the browser goes to the appropriate page.
- The browser navigates to a new page when you click a link on the page.
- The back and advance buttons on the browser allow you to move backward and forth through the history of websites you’ve seen, respectively.
This model is used by Angular Routing to move across the application’s pages. It reads a URL from a browser as a direction to go to a client-generated display. When a user hits a link on a website, the router can be bound to the link to help the user go to the correct application view.
Additionally, you may browse when a user clicks a button or chooses an option from a dropdown menu. The back and forward buttons work because the router also logs activities in the browser’s history journal.
Installation of Angular Routing
Let’s begin with a brief introduction to installing Angular Routing in an application. First and foremost, confirm that Angular is installed on your machine. Once everything is configured, let’s create a fresh Angular project.
You must first construct the directory in which your project will be stored. Later, using the cd command on your Windows Command Prompt or any other CLI you are using, you must modify your path to that directory. If your directory is called “Angular Routing” and it is on your desktop, you need to execute the following command to access it.
cd C:Users/System_Name/Desktop/Angular Routing
Then, The command to create your new Angular project is the one you should type.
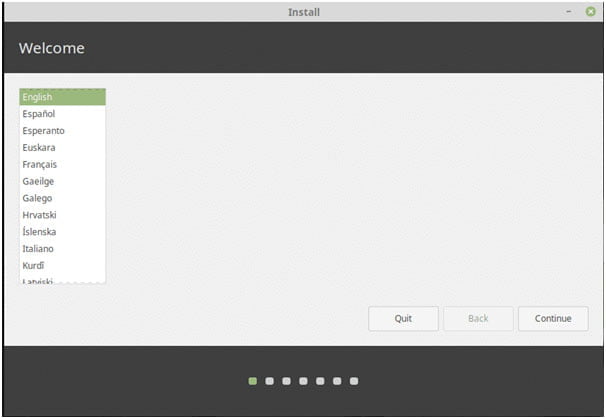
It will first ask you if you want to add Angular Routing to your project, and the prompt will look something like this:
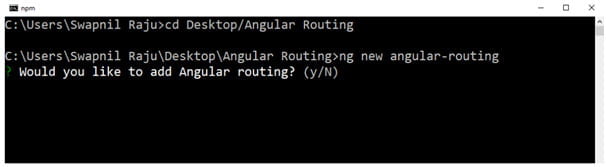
To add routing to your project, you must select y, or yes. As illustrated below, it will then ask you which stylesheet format you would like to use.
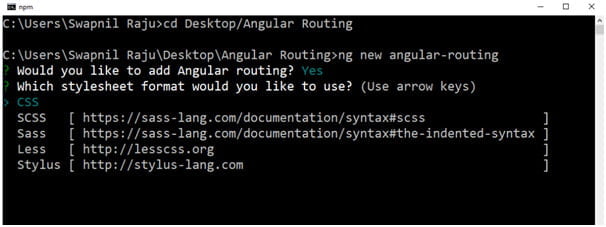
To install the default CSS stylesheet, which also contains all the additional stylesheets, on your application, click CSS.
This will then generate a brand-new project in your directory called angular-routing. With the following command, you may go to your project:
cd angular-routing
You may simply enter the following command in your Command Prompt if you already have an Angular project and would like to add routing to it.
ng generate module app-routing –flat –module = app
This will produce an app-routing.module.ts file in your src/app directory and add routing to your project. This is how the produced file will appear:
import { NgModule } from ‘@angular/core’;import { Routes, RouterModule } from ‘@angular/router’;
const routes: Routes = [ ];
@NgModule({
imports: [RouterModule.forRoot(routes)],
exports: [RouterModule]
})
export class AppRoutingModule { }
Routing between App and First Components
The first step is to create a component called first-component by using the command:
ng g c first-component
In your src/app directory, this will build the component with the name “first-component.” This is divided into the following parts:
- first-component.component.css
- first-component.component.html
- first-component.component.spec.ts
- first-component.component.ts
Let’s imagine you want to provide routing from your first component to the app.component. You must first delete all of the current code from the app.component.html file on your application. The new code must then be written as follows:
<mat-toolbar><span>Angular Routing Tutorial</span>
</mat-toolbar>
<router-outlet></router-outlet>
Headers and titles are included in the Angular Material container <mat-toolbar> in this instance. If you are unfamiliar with it, you can find installation instructions and an example tutorial in the page on Angular Material.
The router is told where to display the routed views by using the router directive <router-outlet> from the router library. To utilize this directive, run the command below in the app.module.ts file located in the angular router directory.
Now, this module must also be included to the imports:[] part of the app.module.ts file.
imports: [BrowserModule,
AppRoutingModule,
BrowserAnimationsModule,
MatToolbarModule,
RouterModule.forRoot(routes)
],
You must include “RouterModule.forRoot(routes)” for Routes.
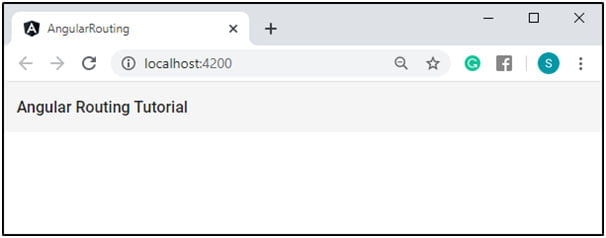
Let’s use the next command to execute your project now:
ng serve -o
This will launch your project in the system’s default browser, as displayed below:
For your initial component, you now want to establish a root. In the first-component.component.html file, let’s first create some code to display the information on the first-component page.
<h3> Welcome to the First Component!</h3>
Go ahead and add a path to the first component in the Routes=[] section of the app.module.ts file.
const routes: Routes = [{ path: ‘first-component’, component: FirstComponentComponent }];
You can view the first-component using the following URL in your browser to construct a route for it:
This will show the first-component file’s contents as follows:
Component-to-component Routing
Let’s say you wish to move between components. You need to create another component for your application first. Next, you must add the following router link from your first-component.component.html file to your second-component.component.html file:
<h3>Welcome to the First Component!</h3>
<p>Click the link below to navigate into second component</p>
<nav>
<a routerLink = “/second-component”>Second Component</a>
</nav>
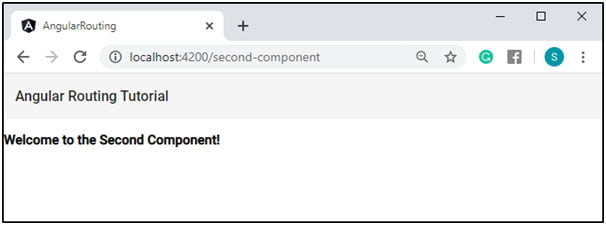
The process for creating a route for the second component in the app.module.ts file is then the same as the one you used for the first component. You may view your second component route on your browser once it has been built.
To access the second component page and see its contents, you must click the “Second Component” link.
Routing through Buttons
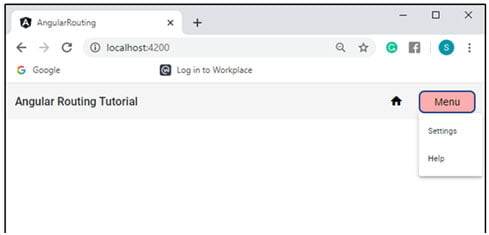
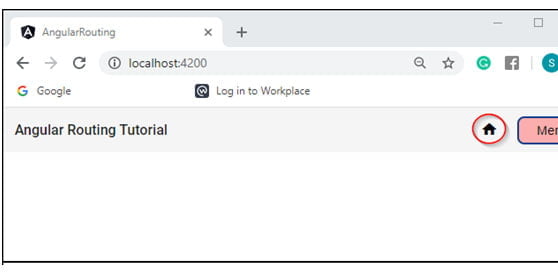
Let us just say you wish to use the buttons to navigate. Let’s start by giving your program a “Menu” option and a “Home” symbol. You must modify the code in your app.component.html file as follows:
<mat-toolbar><span>Angular Routing Tutorial</span>
<span class=”homespace”></span>
<button class=”example” mat-icon-button routerLink=”/”>
<mat-icon aria-hidden=”false” aria-label=”Example home icon”>home</mat-icon>
</button>
<span class=”space”></span>
<button class=”btns” mat-button [matMenuTriggerFor]=”menu”>Menu</button>
<mat-menu #menu=”matMenu”>
<button mat-menu-item routerLink=”/settings”>Settings</button>
<button mat-menu-item routerLink=”/help”>Help</button>
</mat-menu>
</mat-toolbar>
<router-outlet></router-outlet>
Here, multiple icons are represented using a container from Angular Material called mat-icon>. You must import MatIconModule, like MatToolbarModule, from the “@angular/material” directory in your app.module.ts file in order to utilize this.
Even two components, the settings and assistance components, must be generated. You must now use the same process as above to construct a route for these components. RouterLink=”/” in the HTML code above refers to the path to your home page URL, which is http://localhost:4200.
The following code has to be added to your app.component.css file.
.space{
flex: 1 1 auto;
}
.homespace{
flex: 20 0 auto;
}
.btns{
width: 100px;
height: 40px;
font-size: large;
border-radius: 10px;
border: 3px solid #113c89;
background-color: rgb(252, 173, 173);
cursor: pointer;
}
.example {
background-color: Transparent;
background-repeat:no-repeat;
border: none;
cursor:pointer;
overflow: hidden;
outline:none;
}
By providing your project, you may see it on your browser after defining routes for the settings and help components.

To move through these pages right now, simply click on the “Settings” or “Help” choices. I’ll provide you with an illustration of the “Settings” option.
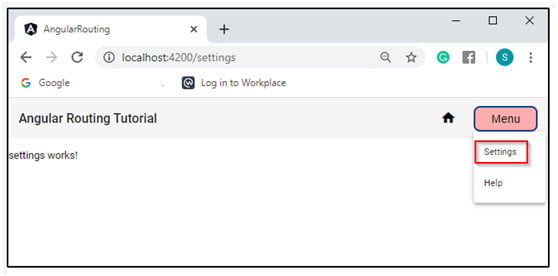
We have just selected the “Settings” option, as seen in the above image, and it then led to the “/settings” website.
You only need to click the “Home” symbol to return to your initial page, as seen below, and then scroll down to it.
Special String Path
A specific string called “**” can also be appended to the route. If the requested URL doesn’t match any of your declared pathways or routes, this string is utilized to redirect to your defined path. You may add this string in the Routes=[] section of your app.module.ts file.
const routes: Routes = [
{ path: ‘first-component’, component: FirstComponentComponent },
{ path: ‘second-component’, component: SecondComponentComponent },
{ path: ‘settings’, component: SettingsComponent },
{ path: ‘help’, component: HelpComponent },
{ path: ‘**’, redirectTo: ”, pathMatch: ‘full’ }
];
You may view the defined routes in your application, for instance. You must enter the following address into the URL field of your browser:
Since there is no third component, it will reroute to your home page, http://localhost:4200, and show its contents.
Conclusion
We hope that you fully understand the foundations of Angular Routing. Please feel free to submit any questions or concerns you may have about this article in the comments box below.
Consider enrolling in our Angular Certification Course in Chennai at Softlogic Systems if you’d want to study what you just learned from this blog as well as more about Angular and further your career as a skilled Angular Developer.