
Microsoft Excel is a very useful application that has made calculations easier for us and it is used to host a variety of features like data visualization, list maintaining and making pie charts, graphing tools, heat maps, pivot tables, etc. Microsoft Excel becomes our day-to-day application and while working on spreadsheets, the user may copy rows accidentally or they may encounter duplicate rows that might be deleted. In this article, we would like to share the step-by-step guide on how to remove duplicates in MS Excel. We suggest working on the rough data or taking a copy of the original data before learning this topic as this method deletes the duplicates permanently.
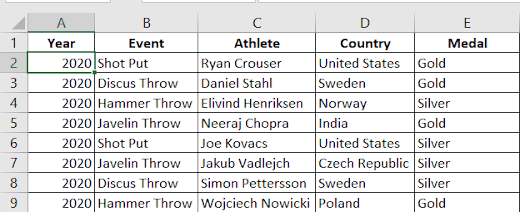
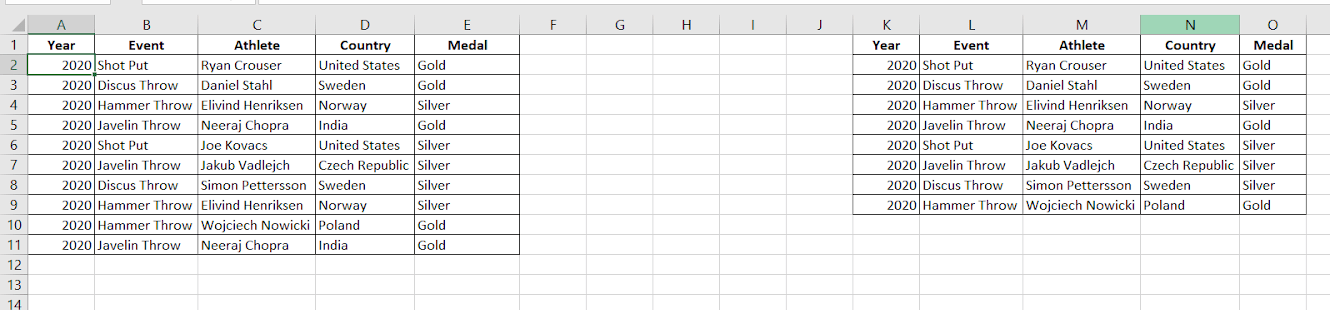
Here, the following illustration is used to remove duplicates in Excel with the 2020 Olympic Medallists dataset.

Using Remove Duplicates Option on Data Tab
Excel has a built-in tool to help in removing repeated entries in our dataset. Check out the following steps to be followed for removing duplicates in Excel.
- First, click on any cell or particular range in the dataset from that you want to remove duplicates. If you click on a single cell, Excel determines the range for you automatically.
- Next go to Data Tab and click on ‘Remove Duplicates’ option and select it.

- Now, select the column that you want to compare and check for duplicate data.

- Select ‘My data has headers’ as our data consists of column headers and click ok. By selecting this option, the first row will not be considered for removing duplicate values.
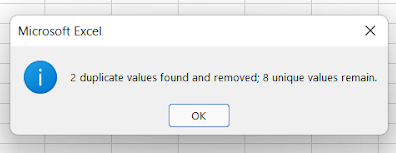
- Excel will delete the rows and display the following dialog box now. It shows the summary of how many duplicate values are found and removed along with the count of unique values.
- If you check now, you can find the duplicate records are deleted.
Removing Duplicates using the Advanced Filter Option
The Advanced Filter Option in Excel helps you filter duplicate records and copy the unique values to a different location. Check out the following steps to know how to use the Advanced Filter option to remove duplicate values.
- First, click on a cell or range in the dataset from which you want to remove duplicate records. If you click on a single cell, Excel determines the range automatically once you click on the Advanced Filter option.
- Then, Locate the Advanced Filter option as below: Data tab 🡪 Sort and Filter Menu 🡪 Advanced Filter Option.
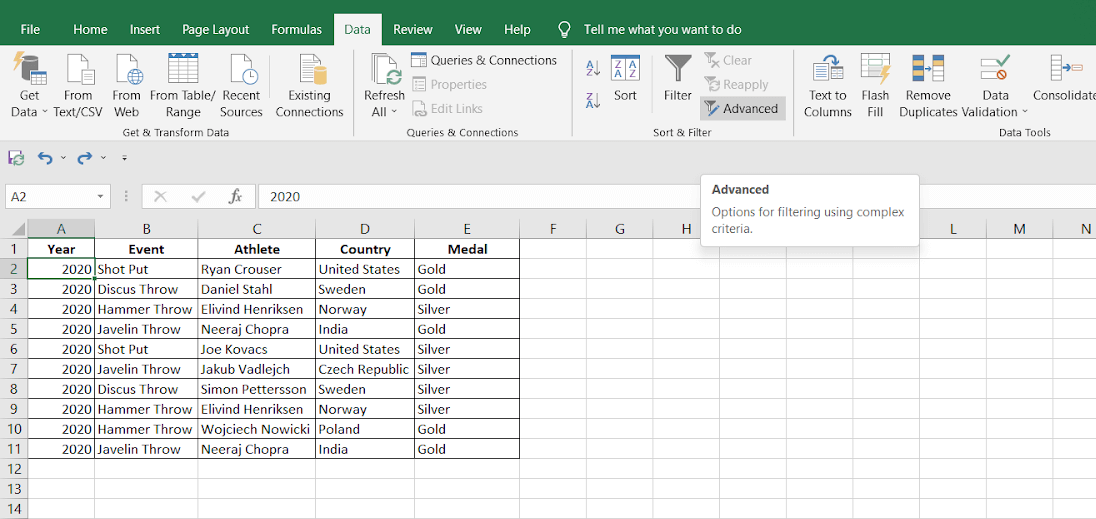
- In that, you can see a dialog box that contains a list of options for advanced filtering.
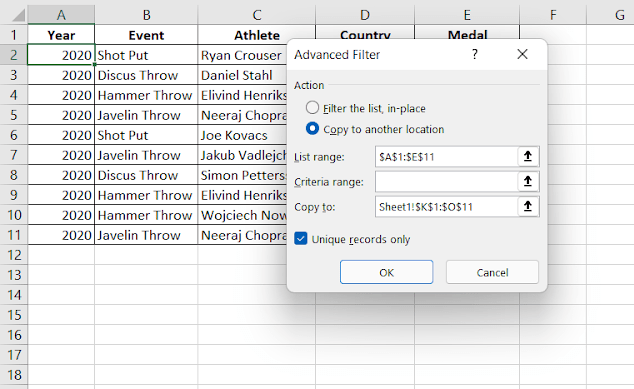
- Now, select the ‘Copy to another location’ option to copy the unique values to a different location
- Now, check out the range of your records in the list ‘List Range’ field and make sure that the range is the one you have specified.
- In the ‘Copy to:’ field, enter the range where the resultant unique values should be copied.
- Now, check the ‘Unique records only’ box and this is the crucial step. Then click ok.
- Now, check out the result below.
Remove duplicates using in-built formulas of Excel
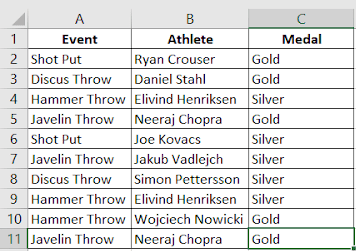
Here is another method for removing duplicates using built-in functionalities of Excel and we are using a simple example that contains columns such as event name, athlete name, and medal they won for explaining this method.
This method involves combining of the columns using an Excel formula and finding out the count. Then, we can filter out the duplicate values (when they have a count greater than 1).
- First combine the columns A, B, and C by using the concatenation operator “&”. Following is the formula in Excel.
= A2&B2&C2
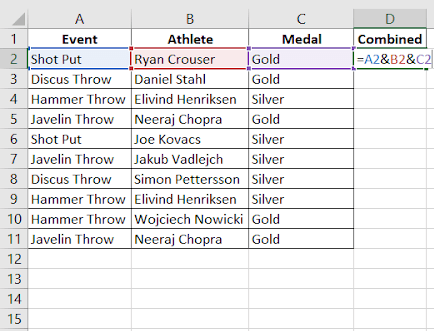
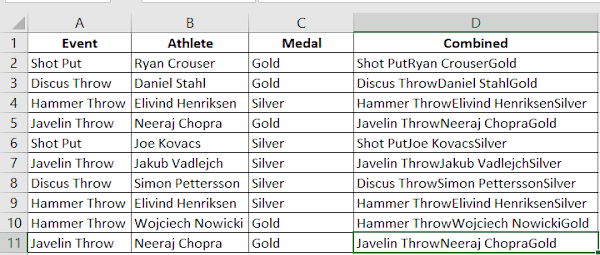
- Then set the values in column D under the name Combined and copy the formula in all rows.
- Now, add another column ‘Count’ to find out the duplicate in Column D. Use the ‘COUNTIF’ function on cell E2 and copy them in all rows. Check out the following
= COUNTIF($D$2:D2,D2)
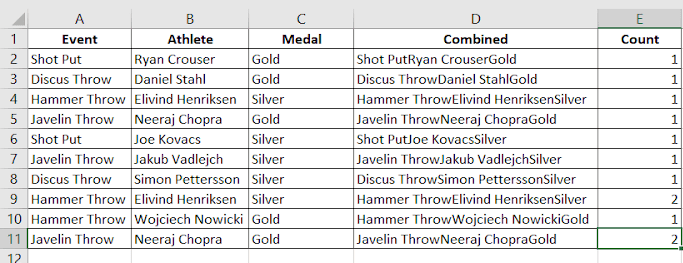
This formula helps count the number of occurrences of each value in Column D.
- If the value is “1”, then it has only appeared once and it is unique. If the value is “2” or more, then it is considered a duplicate record.
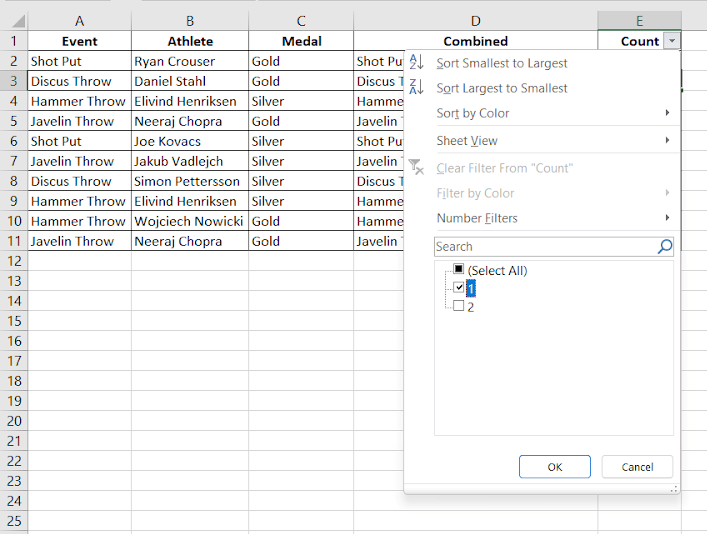
- Now, add a filter to the count column by selecting the Filter option
- Go to Data Tab 🡪 Sort & Filter Section 🡪 Filter
- Click on the filter at the top of Column E. Then select “1” to keep only the unique values and remove the duplicates as well.
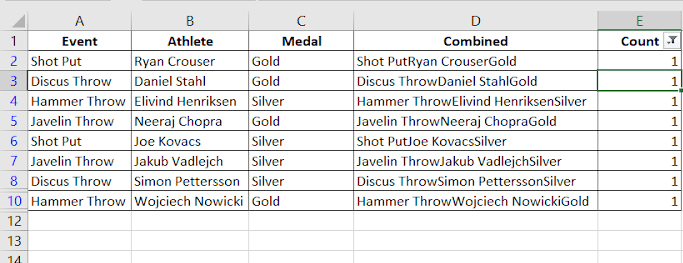
- When you click on “Ok” the duplicate values will be removed from the table and keep the unique values. You can copy the values and store them anywhere.
Remove duplicates using Power Query Tool in Excel
Power Query Tool in Excel is used to import data from various sources, clean and transform your data. It makes it effortless to remove duplicates in Excel.
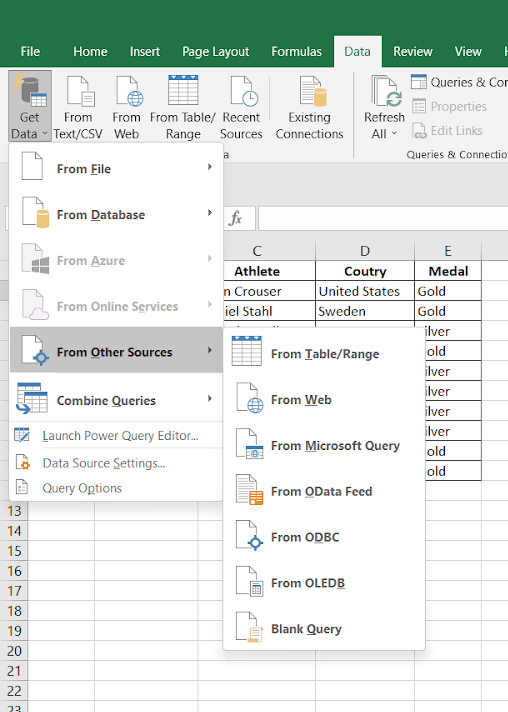
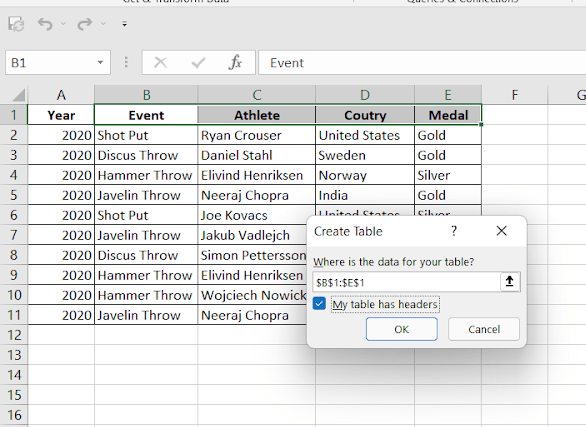
- Select a cell or range by selecting Data Tab 🡪 Get & Transform Data section 🡪 From Other Sources 🡪 From Table/Range and click on it.
- On clicking it, you will see a dialogue box to create a power query table. Make sure that the range of values is correctly mentioned. Click on OK.
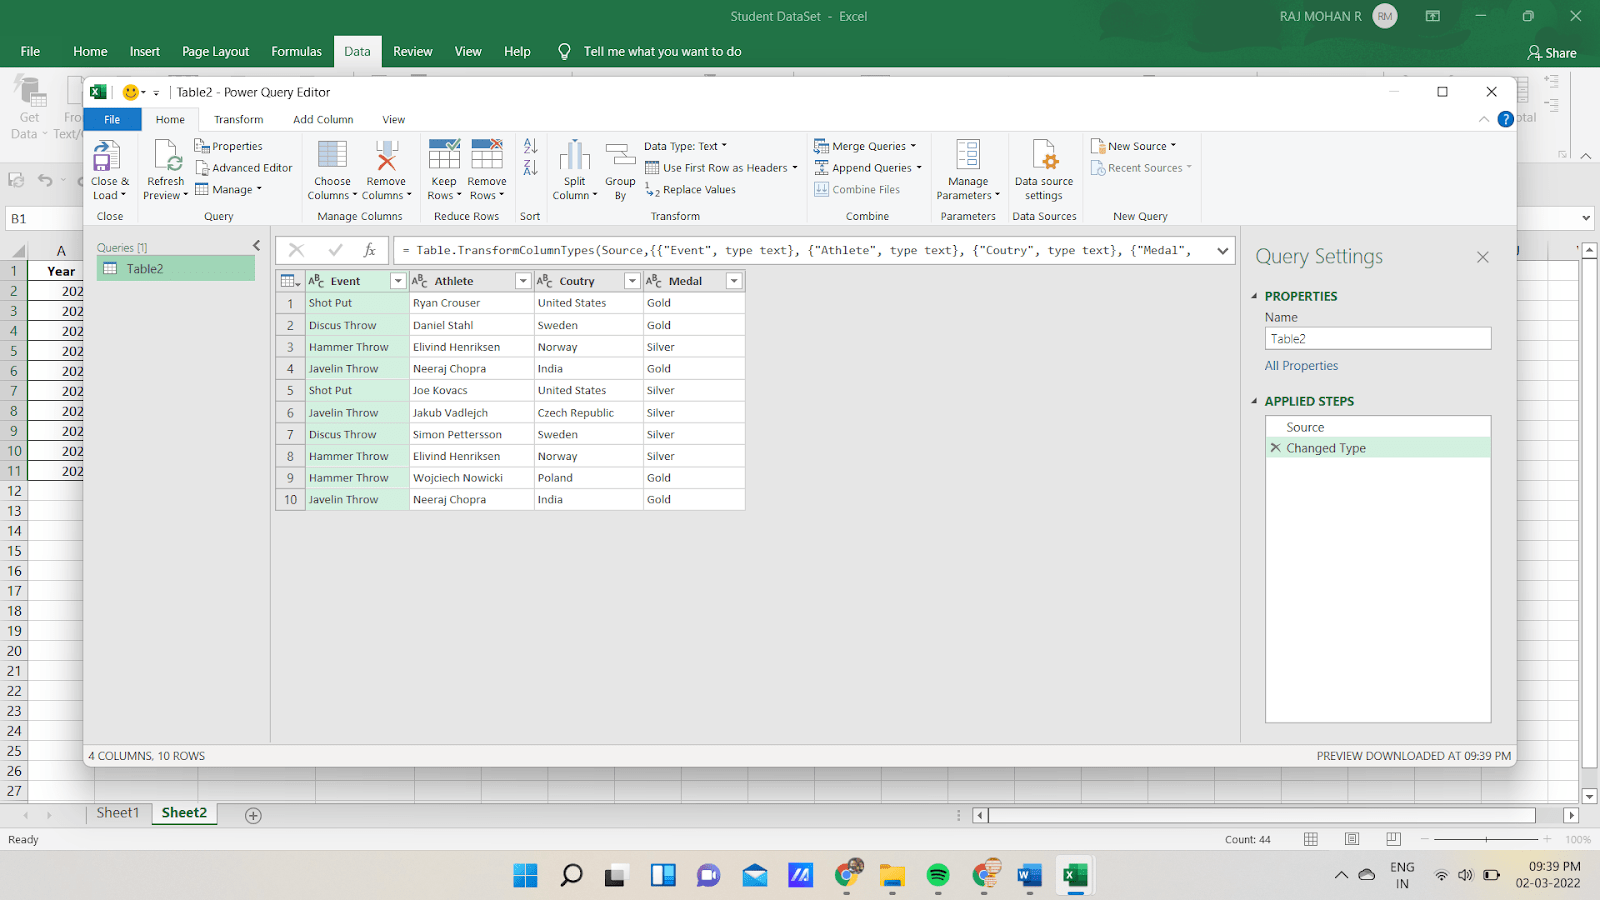
- Then the following power query table will be appeared.
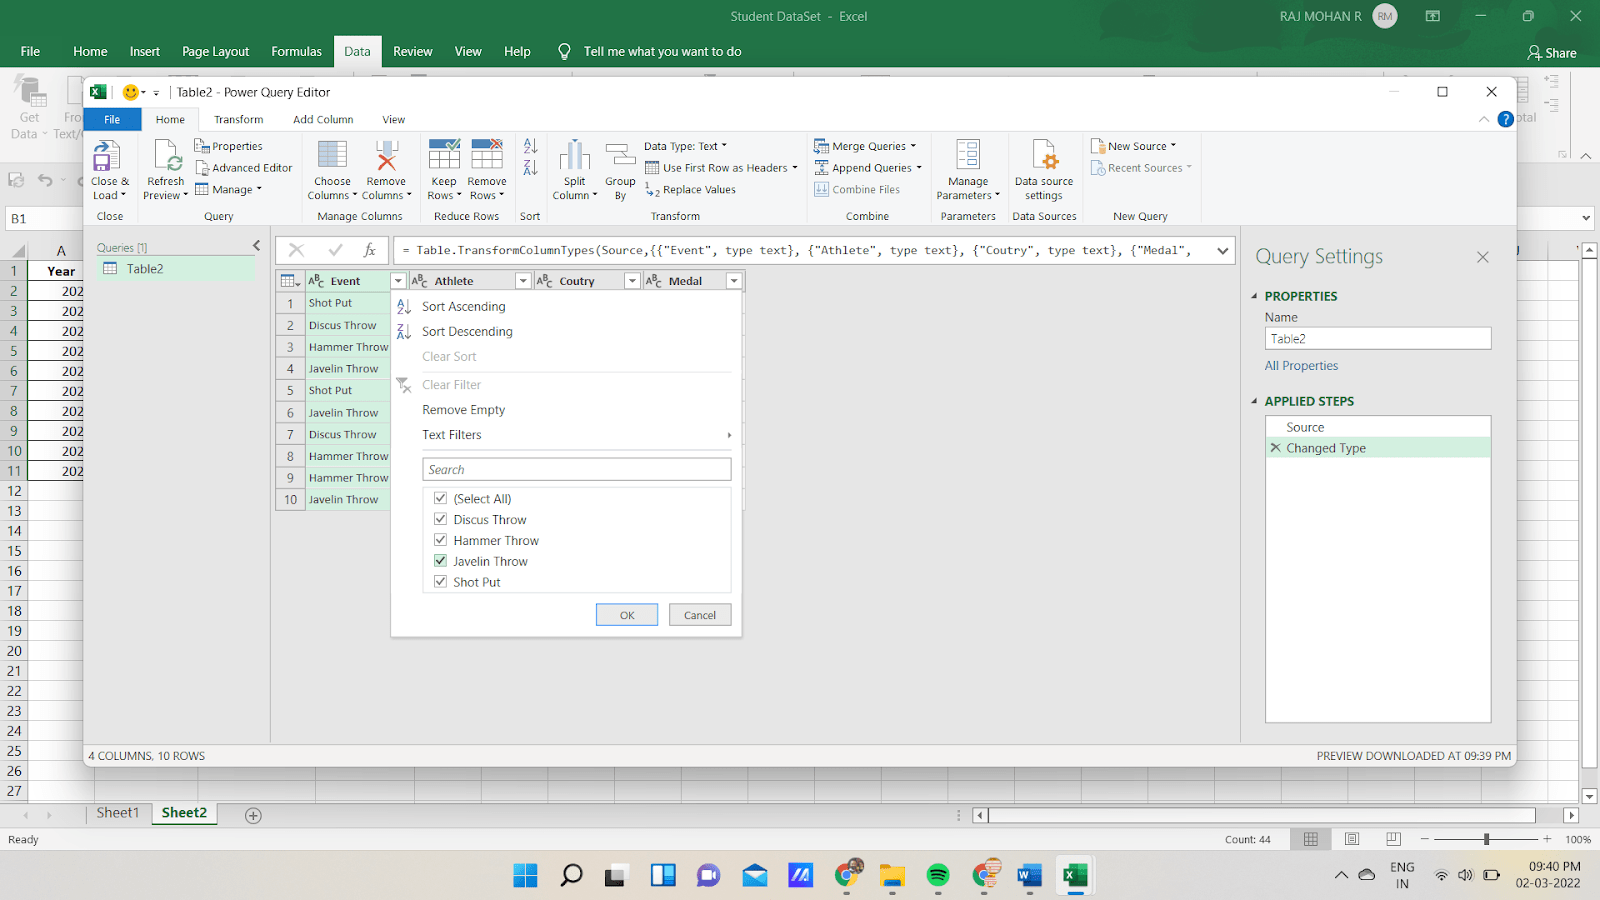
- Now, you can remove duplicates based on two options such as one or more columns or the entire table.
- To remove duplicates based on one or more columns, right-click on the particular column header and you can select more than one column using the CTRL button and remove duplicates accordingly.
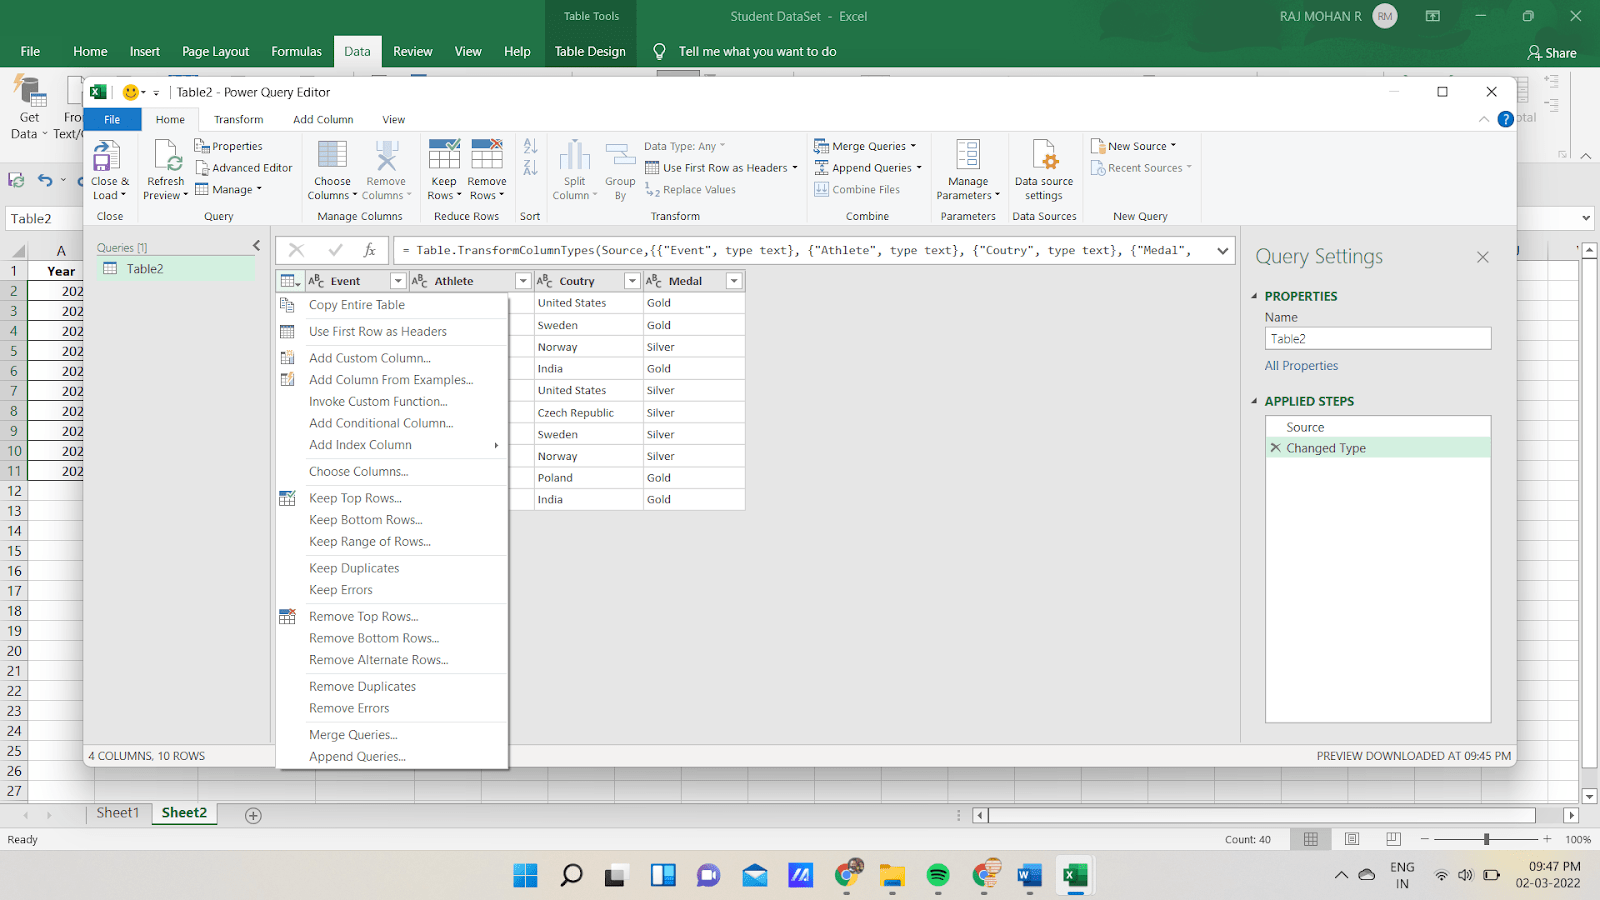
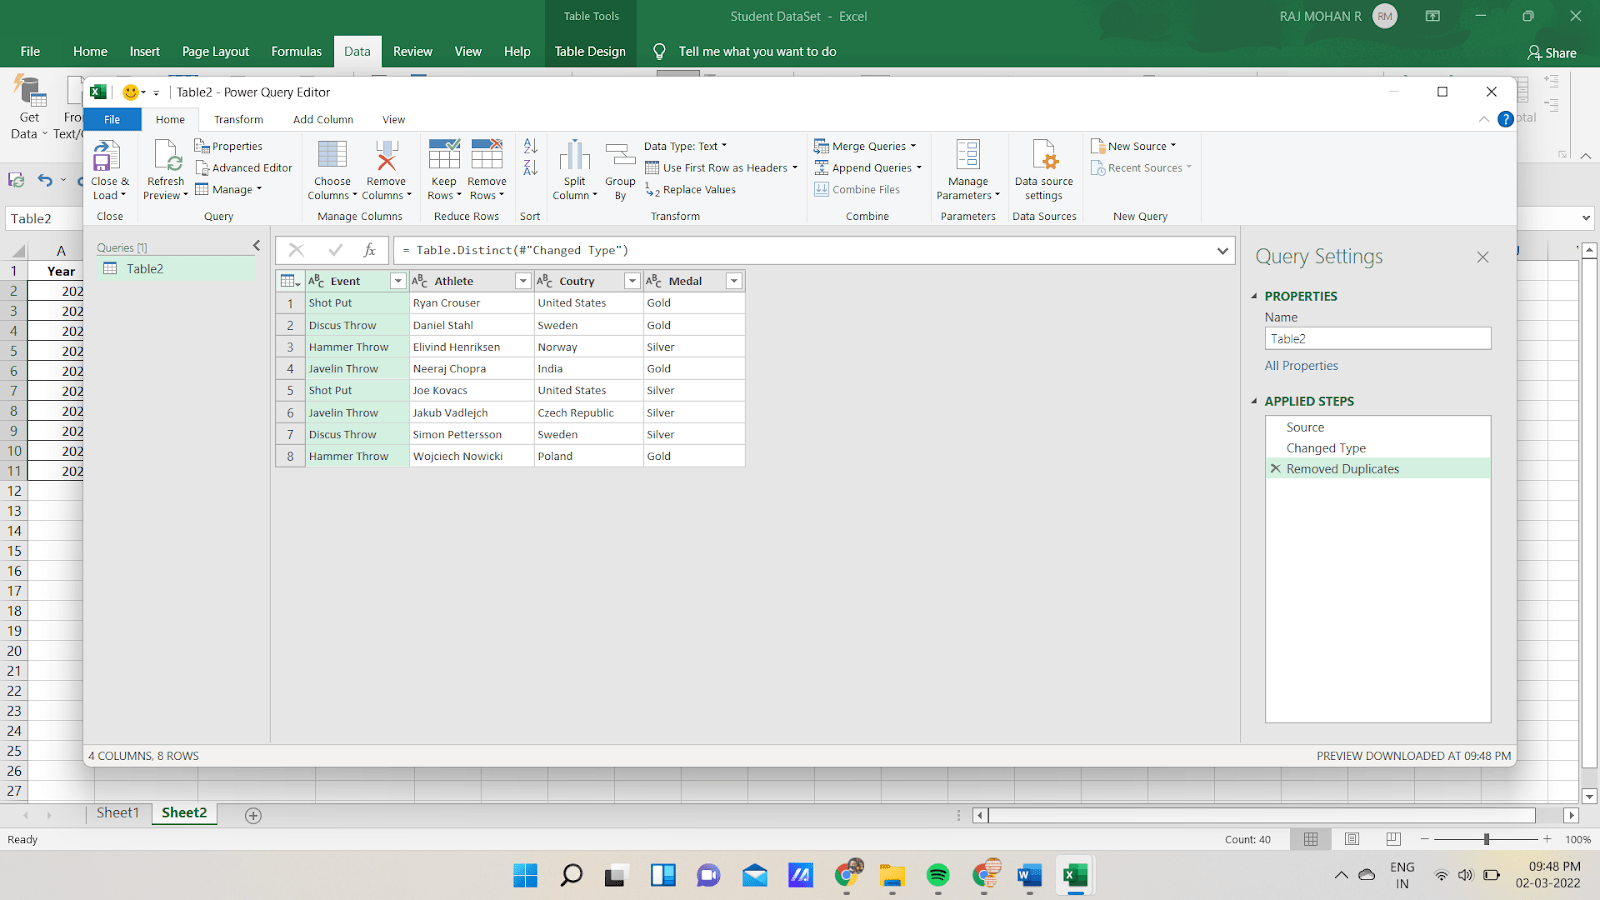
- To remove the duplicate records based on the entire table, click on the button present on the top left corner of the data preview. And select the ‘Remove Duplicates’ option.
- Finally, the result will be as follows
- On clicking the close & load option, the data will be loaded in your spreadsheet.
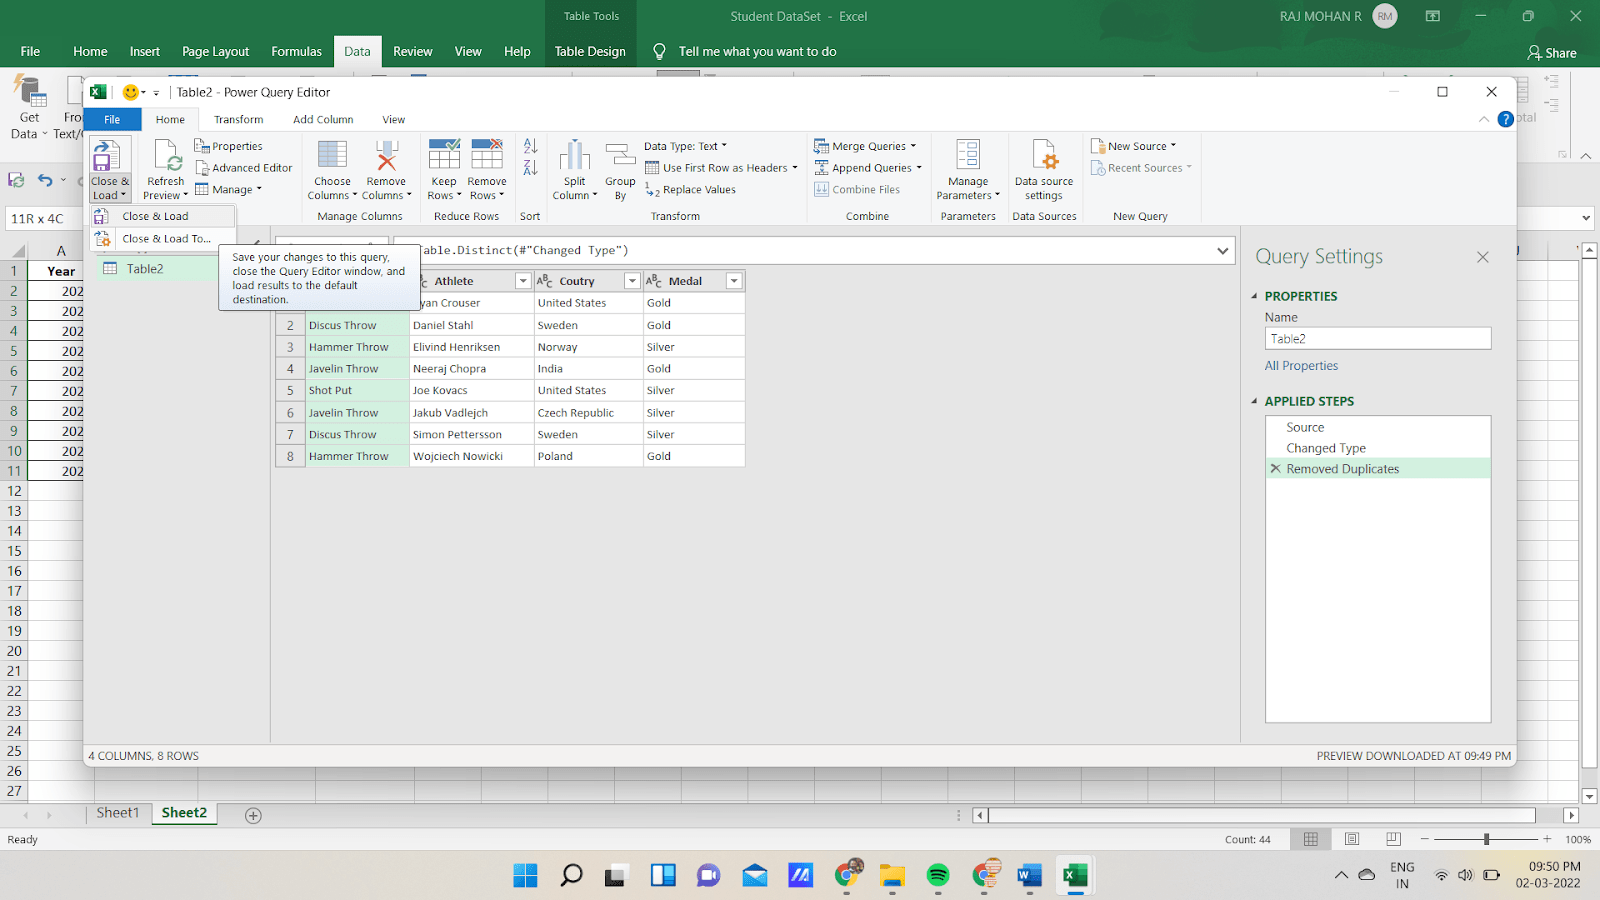
- In the end, the spreadsheet will look like this,

Conclusion
We have learned how to remove duplicates in your spreadsheet data using four popular methods as Data Tab O1ption, Advanced Filter Option, Formulas, and Power Query Tool. Get hands-on exposure to handling data in spreadsheets efficiently by learning in our Microsoft Excel Training Institute in Chennai. We offer the Best Microsoft Courses in Chennai at Softlogic with the industry-accredited certificate and placement assistance for freshers and working professionals. Book a free demo class today to enjoy the learning benefits of Microsoft Excel Training in Chennai.