
JavaScript is good for front-end, back-end, and full-stack development as it helps developers create impressive websites.
Generally, validation is used for authenticating a user. Here in this Blog, we are going to explain how email validation is coded with JavaScript with step-by-step explanations.
What is validation?
Validation is the process of authenticating an authorized user for a website.
Most JavaScript developers preferred JavaScript as it provides the specialized feature of validating the form on the client-side as it is faster than server-side validation.
It is used to validate names, passwords, email, mobile numbers, dates, and so on for authenticating users.
Client-side validation is used to protect the client from identifying whether the form is accepted before reloading a page.
Server-side validation is used when the client-side validation gets bypassed by turning off JavaScript.
Step-by-step process of email validation in JavaScript
The validation of email is important for validating an HTML form. An email is a string that will be divided into two parts with the “@” symbol.
The first part contains ASCII Characters and it can be included with uppercase and lowercase letters (A – Z or a – z), digits from 0 to 9, and special characters like ! #%^&*}{|[]?~, and a period character (.).
the second part contains the domain name and it can contain letters, digits, hyphens, or dots. The mail should be validated with a regular expression /^w+([.]?w+)*@w+([.]?w+)*(.w{2,3})+$/.
Now, the following code explains how this regular expression can be used for validating an email.
Sample Email Validation
email-validation.js
function ValidateEmail(inputText)
{
var mailformat = /^w+([.-]?w+)*@w+([.-]?w+)*(.w{2,3})+$/;
if(inputText.value.match(mailformat))
{
alert(“The email address is valid!”); //The pop up alert for a valid email address
document.form1.text1.focus();
return true;
}
else
{
alert(“The email address in invalid!”); //The pop up alert for an invalid email address
document.form1.text1.focus();
return false;
}
}
Then we can apply the JavaScript function in the HTML form as follows
emailvalidation.html
<!DOCTYPE html>
<html lang=”en”>
<head>
<meta charset=”utf-8″>
<title>JavaScript email validation</title>
<link rel=’stylesheet’ href=’form-style.css’ type=’text/css’ /> //link to the source file of css to add styles
</head>
<body onload=’document.form1.text1.focus()’>
<div class=”mail”>
<h2>Enter email to Validate</h2>
<form name=”form1″ action=”#”>
<ul>
<li><input type=’text’ name=’text1’/></li>
<li> </li>
<li class=”Validate”><input type=”submit” name=”Validate” value=”Validate” onclick=”ValidateEmail(document.form1.text1)”/></li> //Adding the submit button
<li> </li>
</ul>
</form>
</div>
<script src=”email-validation.js”></script> //link to the source file of javascript function
</body>
</html>
Now, we can add style to the form using CSS
form-style.css
li {list-style-type: none;
font-size: 16pt;
}
.mail {
margin: auto;
padding-top: 10px;
padding-bottom: 10px;
width: 800px;
background : rgb(153, 198, 211);
border: 1px soild rgb(1, 20, 24);
}
.mail h2 {
margin-left: 38px;
}
input {
font-size: 20pt;
}
input:focus, textarea:focus{
background-color: lightyellow;
}
input submit {
font-size: 10pt;
}
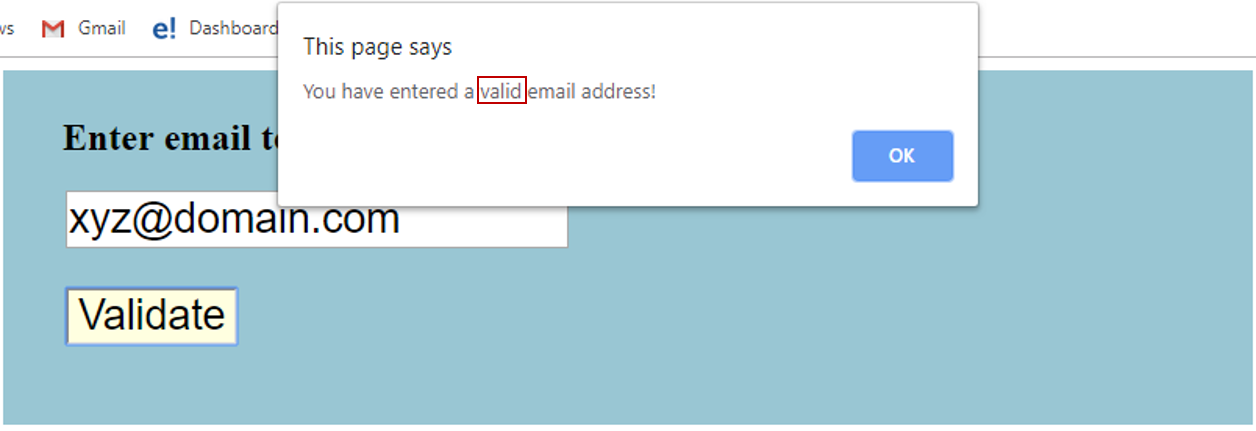
Output of Email Validation

When you check with an input, the following output will be displayed.
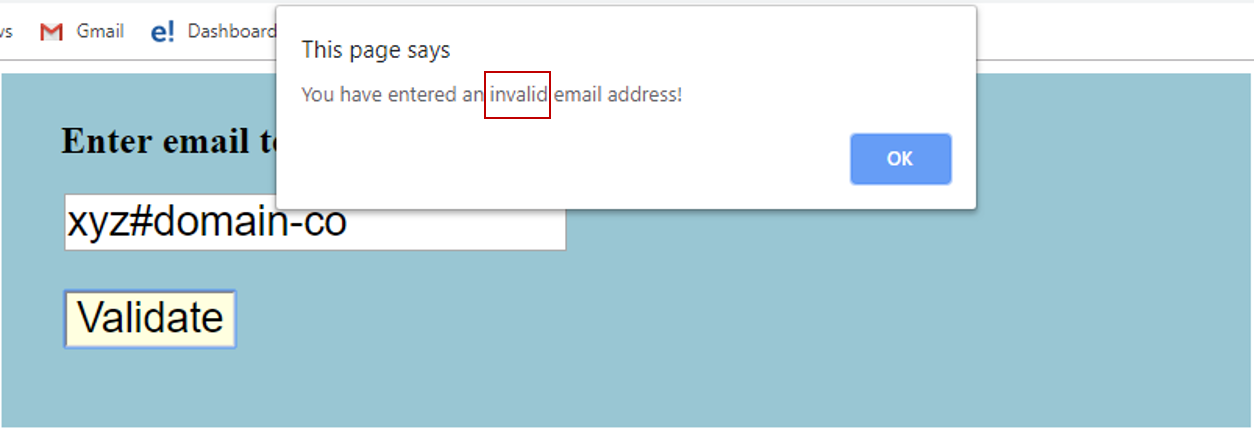
When you enter an invalid email, it shows output as follows
Conclusion
We hope this article helps you understand the email validation process in JavaScript.
Enroll in our JavaScript Training in Chennai for enjoying complete experimental-based coaching.
Our alumni are working in top companies and prove their skills through the industry-standard JavaScript Course provided by Softlogic Systems.