
One of the most widely used tools for continuous integration and continuous delivery on any platform is Jenkins, an open-source Java program. Jenkins is a stand-alone server that may be used to automate various software development, testing, delivery, and deployment operations. Numerous plugins are available to automate nearly every task at the infrastructure level. Because Jenkins offers a wide range of features through plugins, its adoption has grown significantly. Although Jenkins may be deployed on both Windows and Unix systems, we will only cover Windows installations in this article. Get started with an understanding of DevOps.
Overview of Jenkins
Developers may automate applications’ development, testing, and deployment with Jenkins, an open-source automation server. It can be found on many operating systems, such as Windows, Linux, Unix, and macOS.
Prerequisites
There are a few requirements for Jenkins to install on your computer before you can continue installing Jenkins on a Windows machine.
- A System With Windows 10
- Administration Access Account
- Minimum of 256 MB RAM
- Minimum 1 GB Hard Disk Space
- Latest Version of Java, JRE, or JDK
- Web Server Marketability
There are two release lines for the Jenkins project: regular (weekly) and stable (LTS). A choice can be made based on the circumstances and requirements:
Stable (LTS): Every twelve weeks, baseline releases for Long-Term Support (LTS) are selected from the stream of regular releases.
Weekly Regular Releases: This provides users and plugin authors that require them with fast (usually weekly) delivery of bug fixes and new features.
Jenkins can be installed via native system packages, Docker, or even any computer that has the Java Runtime Environment (JRE) installed and can run Jenkins standalone.
Installing Jenkins on Windows
To successfully install Jenkins, the following procedures should be followed:
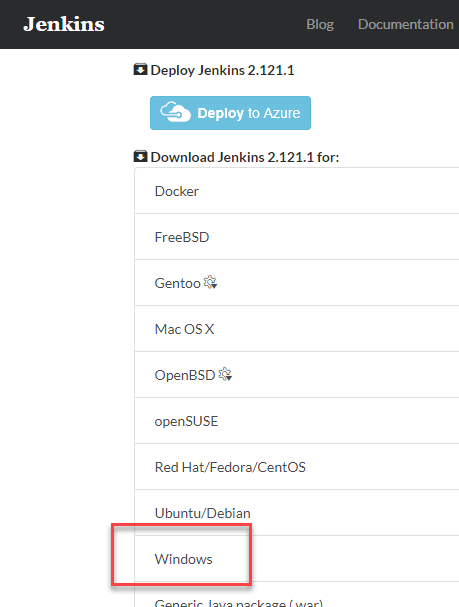
Step 1: Go to https://www.jenkins.io/download/ and choose the platform – Windows
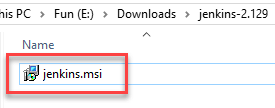
Step 2: Unzip the downloaded package by going to the download location on your local computer. On unzipped jenkins.msi, double-click. Although it is not advised, you can also use a WAR (Web application ARchive) to create Jenkin.
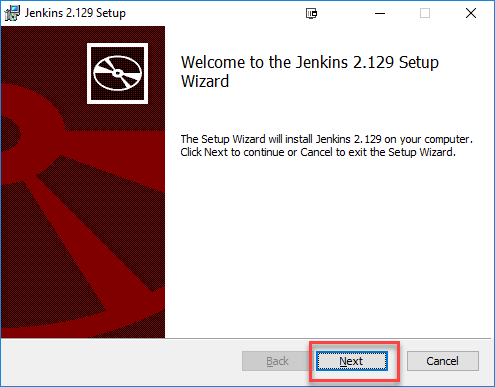
Step 3: Click Next on the Jenkin Setup screen.
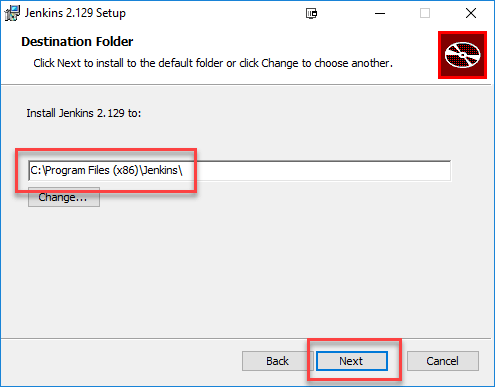
Step 4: Click the Next button after selecting the path (C:\Program Files (x86)\Jenkins) where you want the Jenkins instance installed.
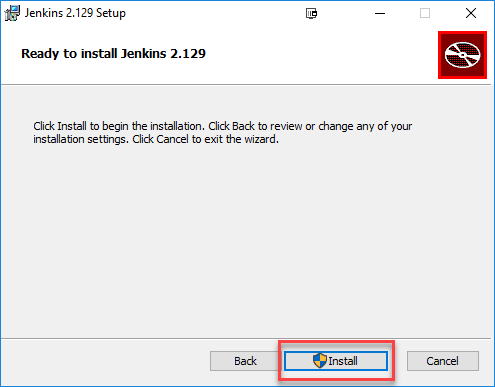
Step 5: Select the Install option.
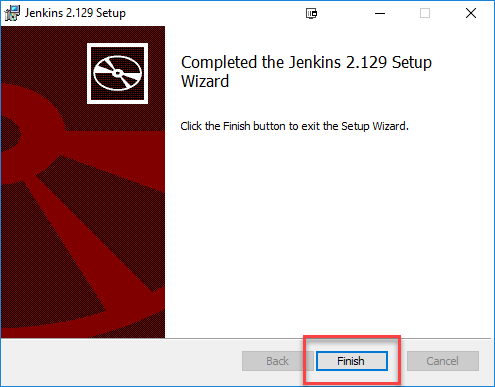
Step 6: Click Finish after the installation is finished.
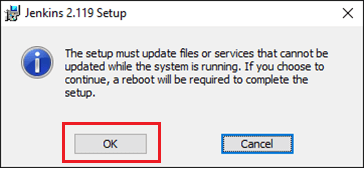
Step 7: An information window may appear during installation to advise the user to reboot the system after the installation is finished for a full setup. Press the OK button when the information panel appears.
Unblocking Jenkins
You should continue and begin Jenkins’ configuration after finishing the installation process. The following instructions will help you unlock the Jenkins application:
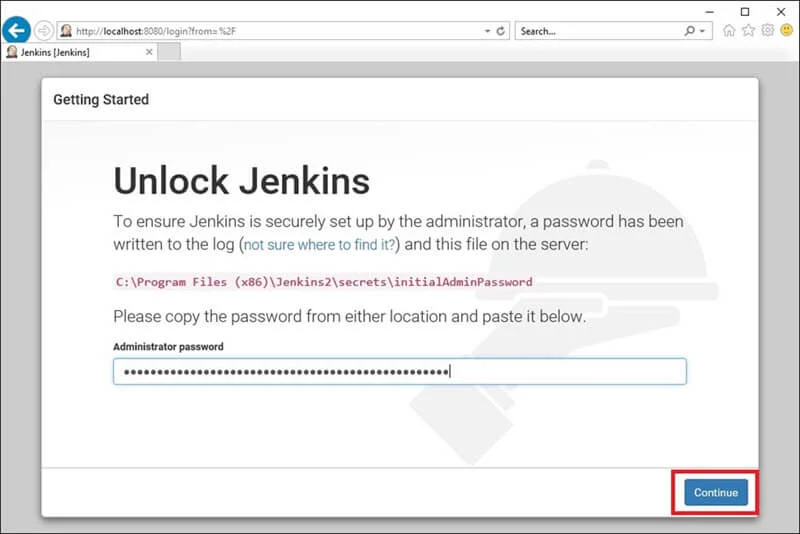
Step 1: A browser tab requesting the original ‘Administrator’ password will appear after the Jenkins installation is finished. You must navigate to the following path in your web browser to access Jenkins.
http://localhost:8080
It is confirmed that Jenkins has been successfully installed on your PC if you can browse the above URL.
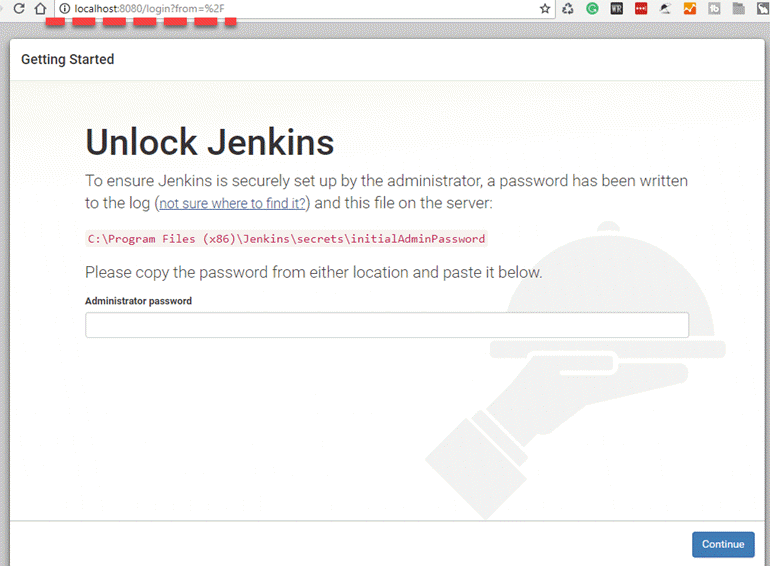
Step 2: The Jenkins installation path should contain the initial ‘Administrator’ password, which is set at Step 4 of the Jenkins installation process.
There is a file named initialAdminPassword under C:\Program Files (x86)\Jenkins\secrets that specifies C:\Program Files (x86)\Jenkins as the default installation location.
On the other hand, if a custom directory was chosen for the Jenkins installation, you should look for the ‘initialAdminPassword’ file there.

Step 3: Copy the contents of the ‘initialAdminPassword’ file by opening the file that is highlighted.

Step 4: Paste the password into the pop-up tab that appears in your browser at http://localhost:8080/login?form=%2F, then press the Continue button.
Customize Jenkins
You can also alter your Jenkins environment by following the instructions below:
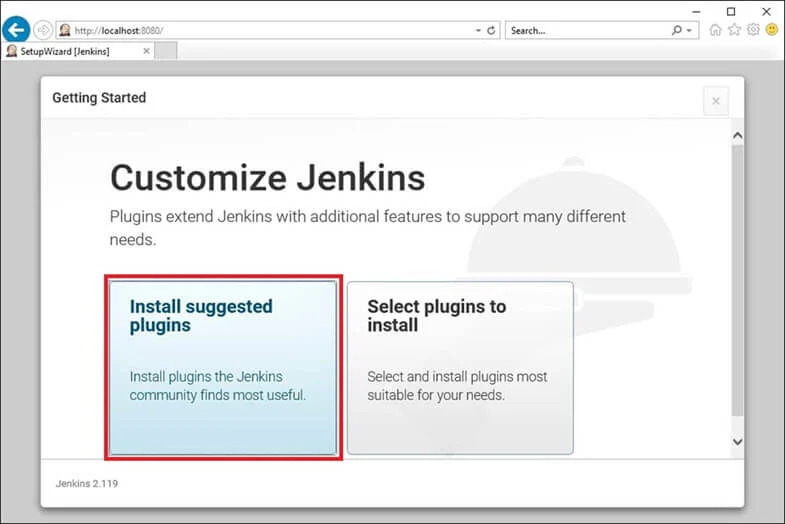
Step 1: Press the “Install suggested plugins button” to instruct Jenkins to find and install the necessary plugins.
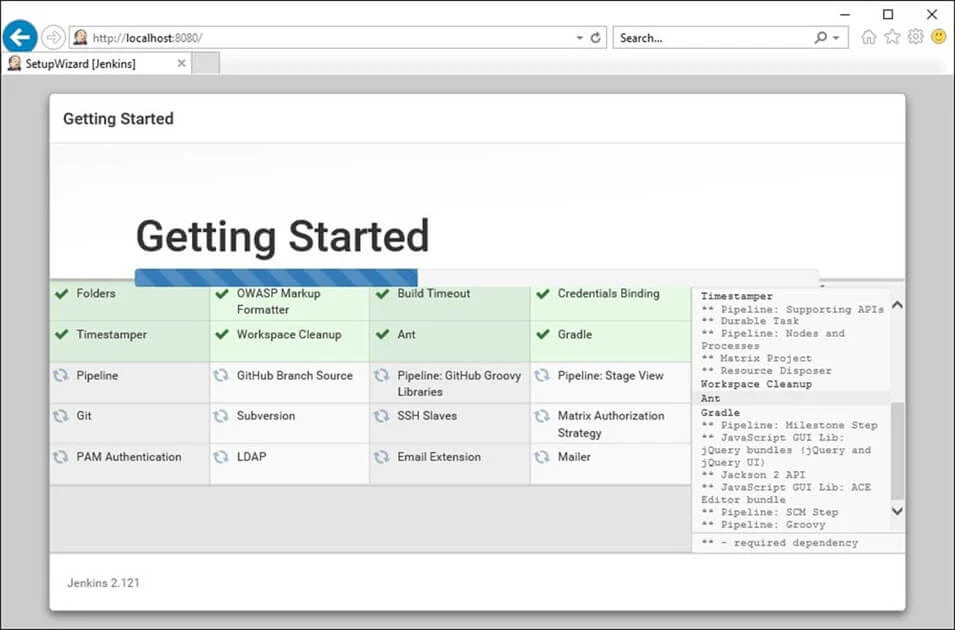
Jenkins will begin downloading and installing each plugin required to build new jobs.
Note: You can select the plugins you wish to install by selecting the “Select Plugins to Install” option.

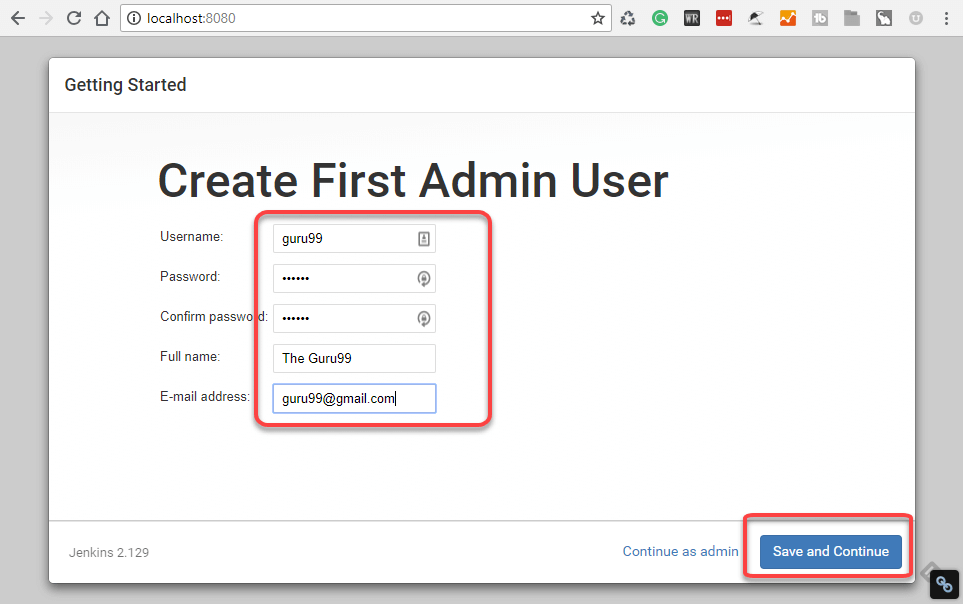
Step 2: The “Create First Admin User” panel will appear once all recommended plugins have been installed. After entering the desired account information in each field, click “Save and Finish.”
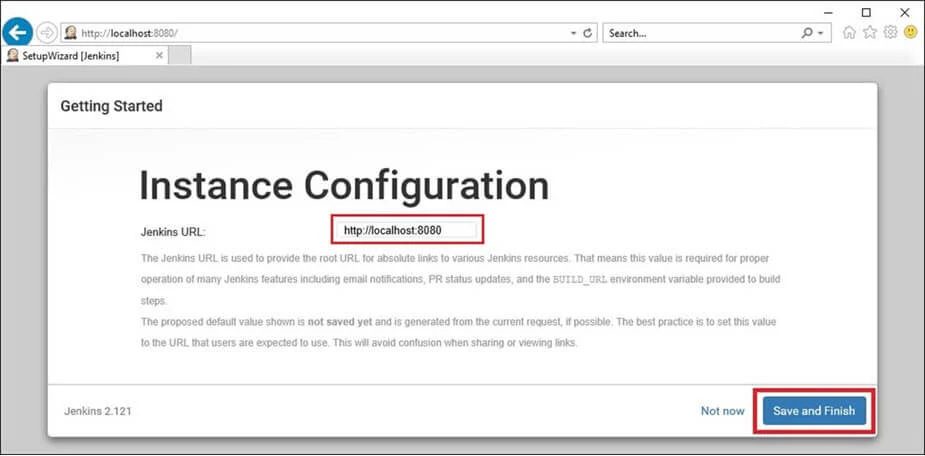
Step 3: After completing the aforementioned information, you will be prompted to provide the URL where Jenkins’ default instance path can be set. If you want to prevent confusion later, leave it as is. Nevertheless, you can use a different port for Jenkins if another application is already utilizing the 8080 port. After that, save the configurations and finish installing Jenkins. Click “Save and Continue” to continue.
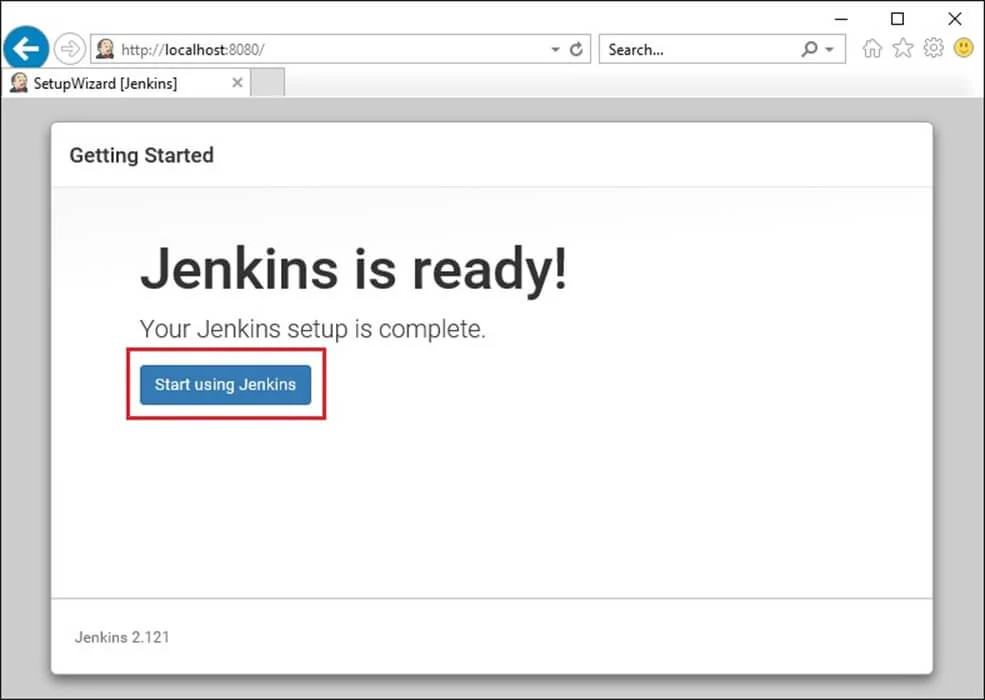
Best wishes! The installation of a new Jenkins server has gone well. Press the “Start using Jenkins” button.
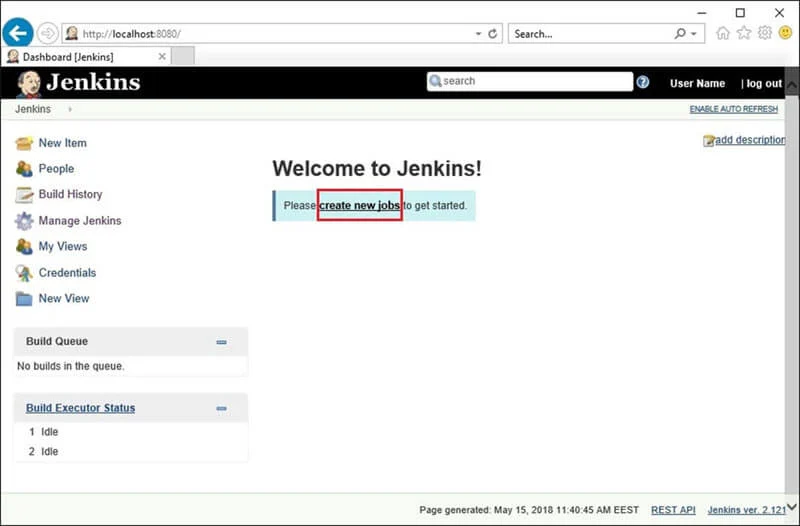
The Jenkins instance is operational and prepared to create new jobs, as seen below:
Note: The person in issue must have the necessary authorization to log in as a service when choosing the Run service as a local or domain user option. An error notice claiming that the account cannot be validated shows that this is not the case. Should this error occur, take the following actions to fix the problem:
- Verify that the user you are logged in as has administrative rights.
- Select Local Security Policy from the Administrative Tools menu.
- Select User Rights Assignment after expanding Local Policy in the left-hand panel of the Local Security Policy box.
- Select Properties by right-clicking Log on as service in the right-hand side panel.
- Choose Add User or Group.
- Add the current user by using the Select Users or Groups interface, then click OK.
- In the Properties window, click the OK button to save the changes.
Installing Plugins
There are two ways to install plugins. One option is to download straight from the Manage Plugin’s Available Section.
Secondly, put the ’.hpi’ file online. When an application or software plugin is not readily available for download, this technique is typically employed.
Find the steps for the same below:
Method 1:
- Select Manage Jenkins and then Manage Plugins from the menu on the left.

- Type the plugin’s name into the search field located under the Available section, then select “Install without Restart.”

Method 2:
- Select Manage Jenkins from the left side menu, followed by Manage Plugins.

- Scroll down to the Upload Plugin area under the advanced section.

- For the plugin, upload the .hpi file (The application/software’s official website is where you may obtain the ‘.hpi’ file.)
Best Practices For Jenkins Installations
- Occasionally, the error code in the Manage Plugin section is as follows:
When examining the update sites, there were errors: PKIX path building failed: sun.security.provider.certpath.SunCertPathBuilderException: unable to locate valid certification path for required target SSLHandshakeException: sun.security.validator.ValidatorException
Installing certificates are required for this. Take the following actions (in the Chrome browser):
- In the address bar, click the icon for the website. Next, choose “Export” -> “Details” -> “Certificate” and save in “Der-encoded binary, single certificate” format.
- To the JVM, add the keystore file. Find out where the certificates are. < JAVA PATH/cacerts >”
- Using admin access to the command line, import the example.cer file into cacerts by running keytool -import -alias example -keystore “< JAVA PATH/cacerts >”. -file example.cer
Alternatively, go to the Manage Plugin section and select the Advanced option. Navigate to Update Site and change the URL mentioned from https to http.

- If, following installation, the Jenkins URL fails to load and displays the message below:

It’s possible that the JDK version isn’t accurate enough to meet the requirements. Launch the Command Prompt and enter the Java — version to confirm.
The JDK installation instructions listed above in the Prerequisites can be used.
- A situation can arise where we need to set up multiple JDK versions.
There might be multiple environments (prod, qa, or pre-prod) operating in the pipeline, necessitating the use of distinct JDK versions. Building the application with a Java version that is similar to the one used in the production environment is one of the better approaches since, while it isn’t always the case, a lower JDK version can function with a higher version.
We can install the JDK version on Jenkins to fix the problem by going to Manage Jenkins >> Global Tool Configuration>> Add JDK.

Clicking Add Jenkins allows us to enter the name and JAVA_HOME. Jenkins will check to see if the installation directory for the designated JDK versions exists when the path for JAVA_HOME is supplied. Jenkins will download and install the designated JDK version into the tools directory of the Jenkins home directory when you select Install automatically.

Click Save at the bottom of the screen to save the configuration once all the JDK settings have been completed
Uninstalling Jenkins from Windows
To uninstall Jenkins from Windows, there are several ways to accomplish it.
Either a.msi file or the command prompt can be used to accomplish this.
The instructions for uninstalling Jenkins and its slave services are as follows:
Method 1: Use the command line
Step 1: Just navigate to the directory containing Jenkins’ installation.
Step 2: Next, launch a CMD window within that directory. (It is best to use cmd in administrator mode.)

Step 3: Uninstall jenkins.exe; if you have slave Jenkins services, you may see a different name, such as jenkins-slave.exe, or something similar. (There will be an application in the folder.)
Do the same for Jenkins as for services. Upon completion, the directories (such as C:\Program Files (x86)\Jenkins or any other location where Jenkins was installed) can be removed.

Method 2: By Using the ‘.msi’ file
Step 1: Open the directory containing the Windows Installer (.msi) file that was used to install Jenkins. It will usually be in the ‘download’s.zip’ folder, though this is not guaranteed.

Step 2: The ‘.msi’ file within the zipped folder should be double-clicked.
Note: Avoid extracting the file.
Step 3: Windows Installer will provide you with the option to either uninstall or tweak Jenkins as it is already installed.
Step 4: Select “Uninstall.”
Step 5: After uninstalling, remove the Jenkins installation folder (which might be anywhere Jenkins was installed, such as C:\Program Files (x86)\Jenkins).

Conclusion
You can move forward with setting up a continuous integration pipeline now that Jenkins has been deployed and the prerequisite configuration has been finished. The Jenkins training in Chennai will teach you about configuration tools, continuous integration, and server automation. Join our DevOps training in Chennai to gain expertise with Jenkins skills.