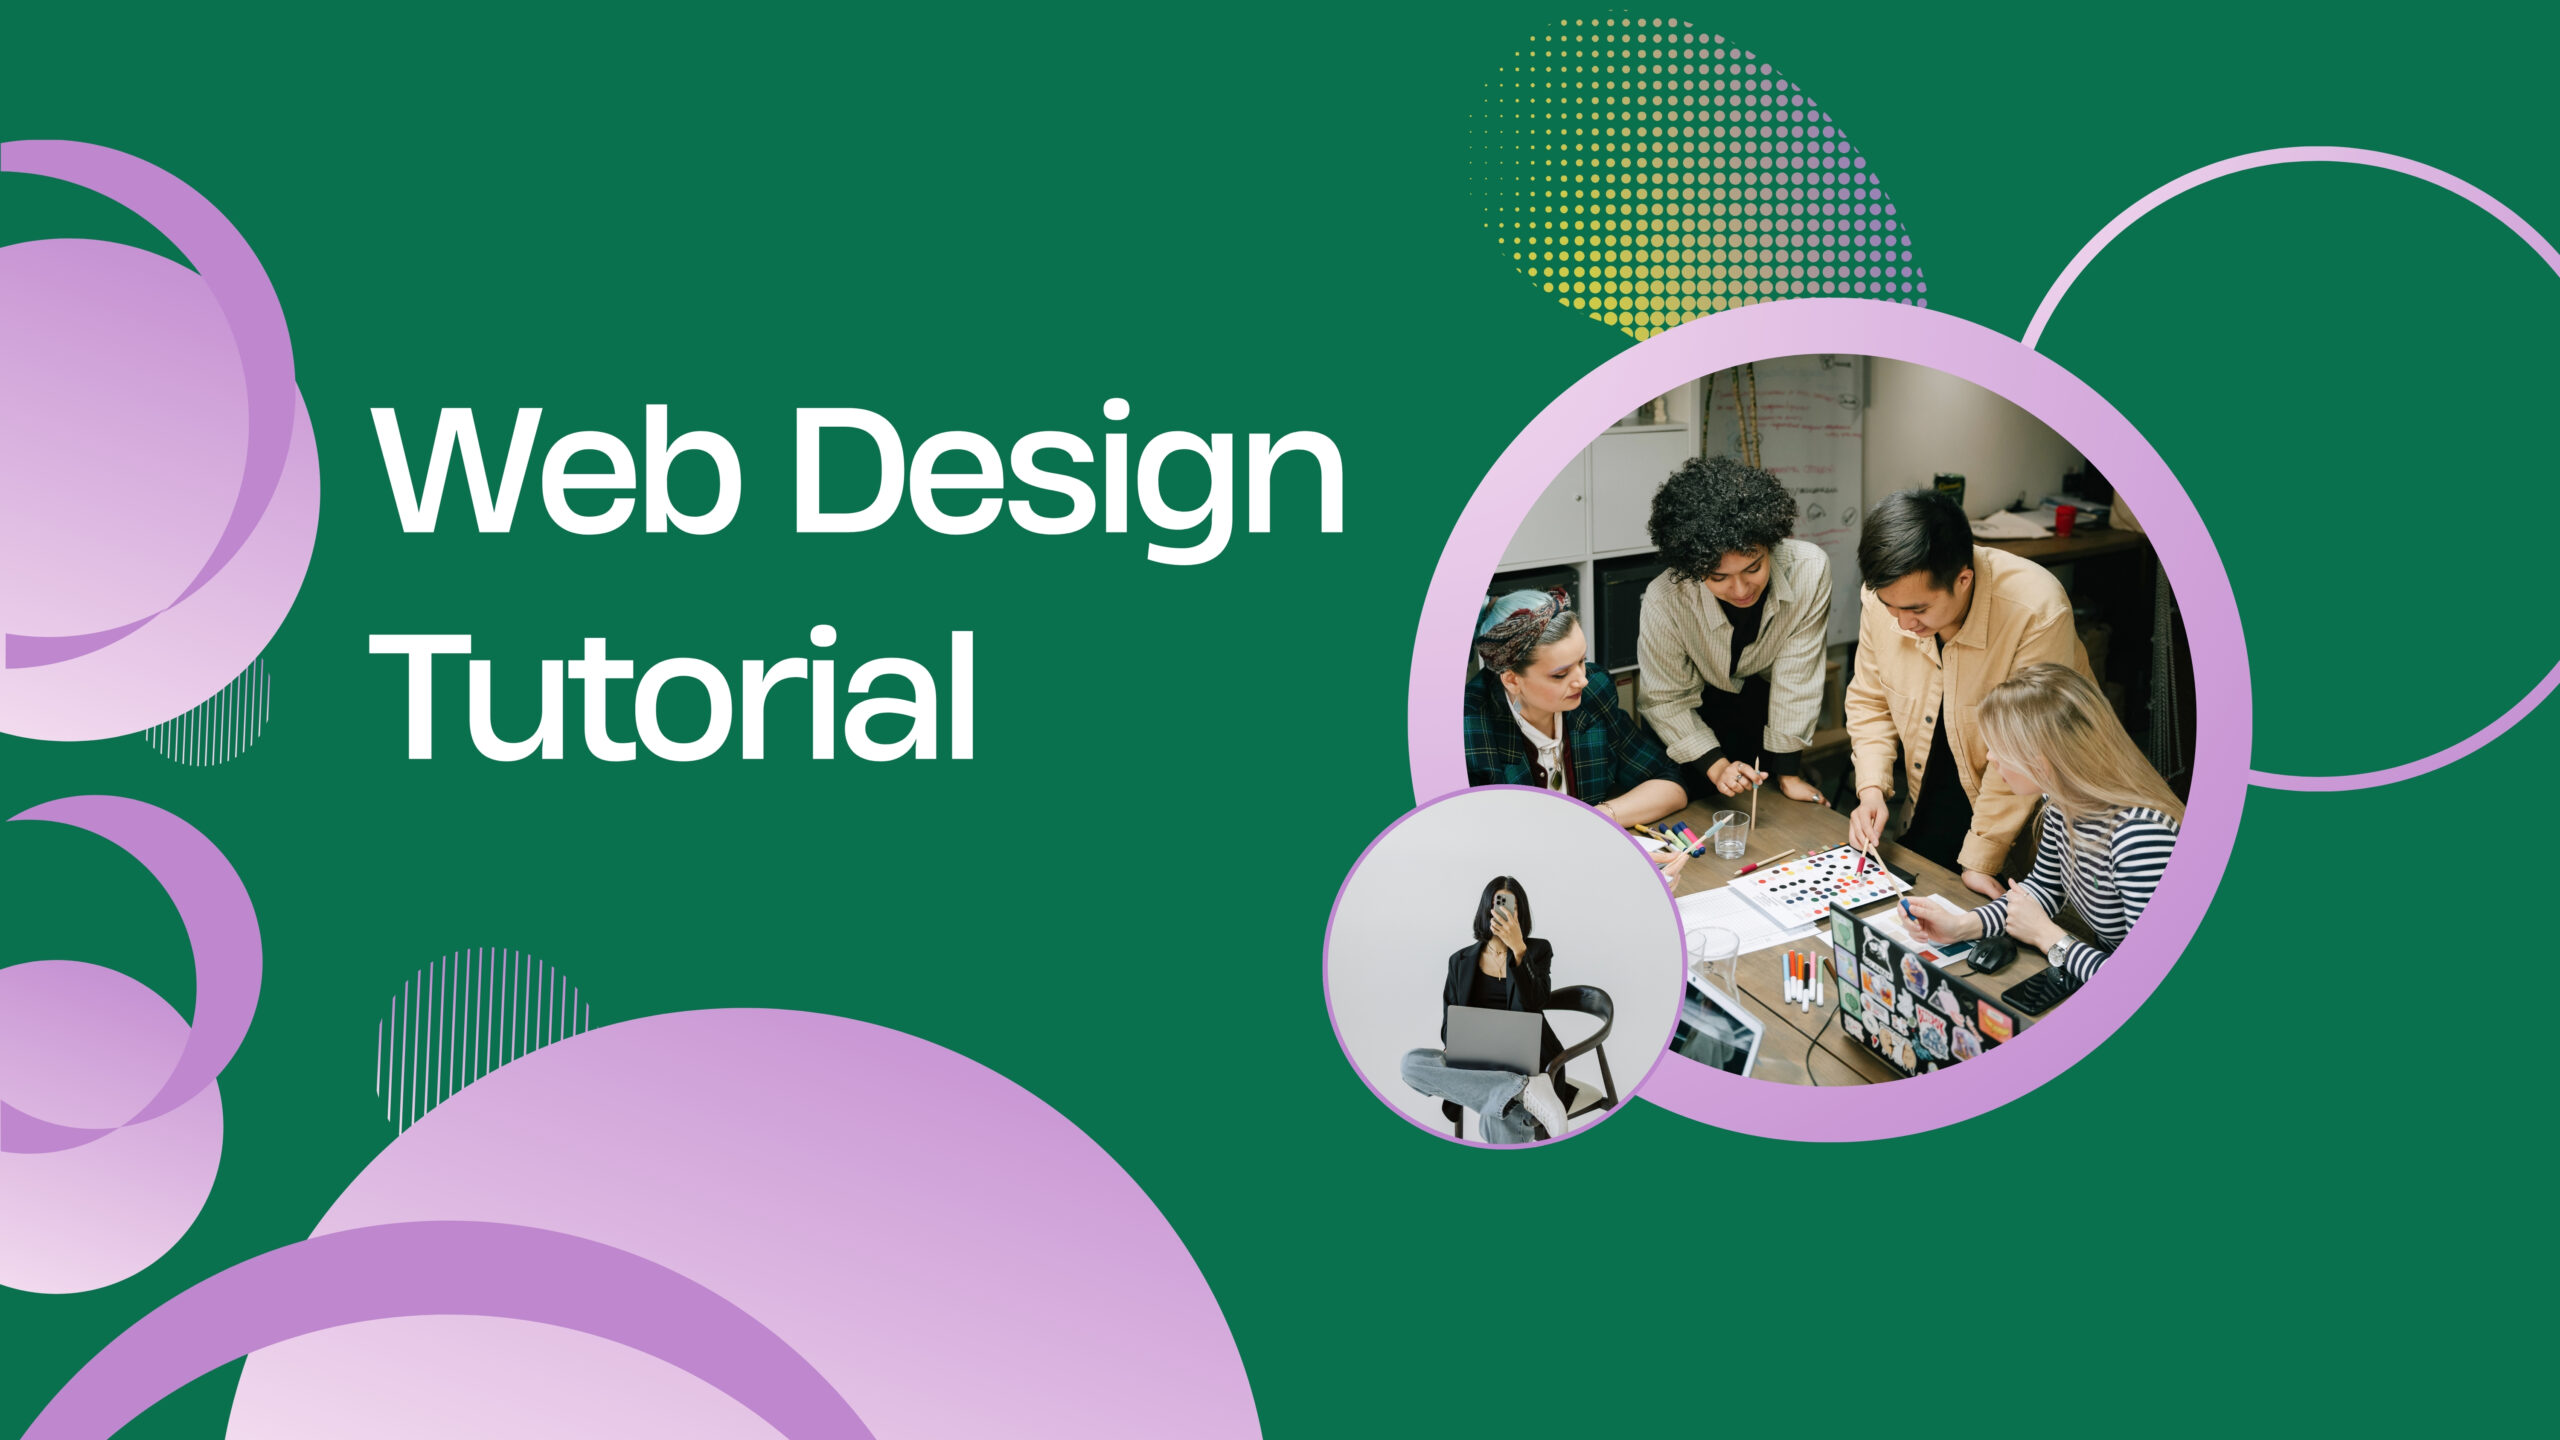
Introduction
Web development can be intimidating with all the code, terminology, and software. Fed up with confusing guides and not knowing where to begin? This web design tutorial for beginners speaks directly to those pain points! We’ll take the basics step by step, transforming confusion into confidence. Master the foundation skills to build brilliant, working websites. No longer get lost, start creating! Prepared for a guided learning route? Look at our entire web design course syllabus below for an entire novice-to-pro educational experience!
Why Students or Freshers Learn Web Designing
Students and freshers should study web design since it provides highly sought-after, high-compensation, and adaptable career prospects in the digital economy.
- High Employability: Every company requires a website, generating persistent demand for developers and designers.
- Skill Mix: It integrates creativity (design) and technical expertise (coding), which suits various interests.
- Freelance Opportunity: Web design is perfectly suited for remote job work and freelancing, with the money freedom.
- Portfolio Creation: It facilitates quick development of a professional web portfolio for any professional future.
- Future-Proof: It’s a core skill for future-proof advanced tech careers such as UI/UX and Front-End Development.
Ready to find your first job? Get ahead! Here are the popular web design interview questions and answers for your practices.
Check your knowledge level with our smart Knowledge Assessment Tool
- Instant skill evaluation with accurate scoring
- Identify strengths and learning gaps easily
- Designed for students and working professionals
- Smart assessment to guide your career growth
Take Your Eligibility Report Instantly
Step-by-Step Web Design Tutorial for Beginners
This step-by-step web design tutorial for beginners will walk you through the installation and setup of your development environment and the creation of a simple personal homepage using HTML (HyperText Markup Language) for structure and CSS (Cascade Style Sheets) for styling.
Step 1: Installation and Setup
You do not need to write code before anything, though. You require a location in which to write it and a browser for viewing it.
1.1 Choose a Text Editor
Your main asset is a text editor. It is built for coding and has useful features such as syntax highlighting.
- Tip: Visual Studio Code (VS Code). It is free, very customizable, and the standard in the industry.
- Task: Download and install VS Code from its official site.
1.2 Set Up Your Project Folder
Order is important. Create one folder on your desktop to hold all your website files.
- Folder Name: MyFirstWebsite (or something similar).
- Action: Within this folder, make two files:
- index.html (This is the home page of your website).
- style.css (This will contain all your styling rules).
1.3 VS Code Setup (Extensions)
Install the Live Server extension for VS Code. This lets you open your HTML file in a browser, and it will refresh the page every time you save your code.
Step 2: HTML Structure (The Skeleton)
HTML gives your webpage its structure and content. It employs tags between angle brackets (<>).
2.1 Basic Boilerplate Code
Open index.html inside VS Code and enter ! followed by Tab (or Enter). VS Code will create the basic HTML boilerplate:
<!DOCTYPE html>
<html lang=”en”>
<head>
<meta charset=”UTF-8″>
<meta name=”viewport” content=”width=device-width, initial-scale=1.0″>
<title>My Personal Page</title>
<link rel=”stylesheet” href=”style.css”>
</head>
<body>
</body>
</html>
- <!DOCTYPE html>: Announces the document type.
- <head>: Includes invisible information such as the title of the page and references to outside files (such as our CSS).
- <title>: The title of the page which will show up in the browser tab.
- <link rel=”stylesheet” href=”style.css”>: Important step! This links your HTML file to your styling sheet.
2.2 Adding Content Tags
We will have a simple page with a header, a main area, and a footer. Add the following code within the <body> tags:
<header>
<h1>Welcome to My Design Portfolio</h1>
<nav>
<ul>
<li><a href=”#about”>About Me</a></li>
<li><a href=”#projects”>Projects</a></li>
<li><a href=”#contact”>Contact</a></li>
</ul>
</nav>
</header>
<main>
<section id=”about”>
<h2>About Me</h2>
<p>Hello! I’m a beginner web designer passionate about creating clean, user-friendly layouts.</p>
<img src=”placeholder.jpg” alt=”A profile picture”>
</section>
<section id=”projects”>
<h2>My Projects</h2>
<div class=”project-card”>
<h3>Project 1: Blog Layout</h3>
<p>A simple blog interface built with clean HTML and responsive CSS.</p>
</div>
</section>
</main>
<footer>
<p>© 2025 Web Design Beginner</p>
</footer>
2.3 Essential HTML Tags Explained
| Tag | Name | Purpose |
| <h1> to <h6> | Headings | Defines titles and subtitles (H1 is the most important). |
| <p> | Paragraph | Used for blocks of text. |
| <img> | Image | Embeds an image. Requires src (source path) and alt (description). |
| <a> | Anchor | Creates a hyperlink. Requires href (destination URL). |
| <ul>/<ol>/<li> | Lists | Used for unordered (bullets) or ordered (numbered) lists. |
| <div> | Division | A generic container used to group and style content. |
| <header>, <main>, <footer> | Semantic Tags | Defines the logical structure of a page for better organization and SEO. |
Step 3: CSS Styling (The Cosmetics)
CSS dictates what your HTML elements look like: colors, fonts, spacing, and layout. Open style.css.
3.1 CSS Syntax
A CSS rule includes a selector (which element to style) and a declaration block (the styles to apply).
selector {
property: value;
property: value;
}
3.2 Resetting Default Browser Styles
Browsers include default built-in styles. It’s standard practice to ‘reset’ them for predictable design.
/* Universal Reset */
* {
margin: 0;
padding: 0;
box-sizing: border-box; /* Makes padding and border included in an element’s total width and height */
}
/* Base Body Styles */
body {
font-family: Arial, sans-serif; /* Sets a readable font */
line-height: 1.6; /* Improves readability of text */
background-color: #f4f4f9; /* Light grey background */
color: #333; /* Dark text color */
}
3.3 Styling the Header and Navigation
We’ll set the header background to dark and the navigation links to white.
header {
background-color: #333;
color: white;
padding: 20px 0;
text-align: center;
}
nav ul {
list-style: none; /* Removes bullet points */
text-align: center;
}
nav ul li {
display: inline; /* Lays list items side-by-side */
margin: 0 15px;
}
nav ul li a {
color: white;
text-decoration: none; /* Removes the default underline from links */
font-weight: bold;
}
nav ul li a:hover {
color: #ff9900; /* Changes link color on hover for feedback */
}
3.4 Styling Sections and Containers
Add spacing and determine the layout for the main content.
main {
max-width: 1000px; /* Limits the width of the content */
margin: 20px auto; /* Centers the main content area */
padding: 20px;
}
section {
padding: 40px 0;
border-bottom: 1px solid #ddd; /* A subtle separator between sections */
}
section h2 {
margin-bottom: 20px;
color: #007bff; /* Blue title color */
}
.project-card {
border: 1px solid #ccc;
padding: 15px;
margin-top: 15px;
border-radius: 5px;
background-color: white;
box-shadow: 2px 2px 5px rgba(0,0,0,0.1); /* Subtle shadow effect */
}
Step 4: Adding Media and Final Touches
4.1 Image Handling
To get the image to display well, you must add styling to the img tag.
/* Style for the profile picture */
img {
max-width: 100%; /* Ensures the image doesn’t overflow its container */
height: auto; /* Maintains the image’s aspect ratio */
display: block; /* Removes extra space below the image */
margin: 15px 0;
border-radius: 8px; /* Slightly rounded corners */
}
4.2 Styling the Footer
footer {
background-color: #333;
color: white;
text-align: center;
padding: 10px 0;
margin-top: 30px;
}
4.3 View Your Site
- Save index.html and style.css.
- Right-click on index.html in VS Code and open with “Open with Live Server”.
You now have a structured, styled, and functional basic webpage!
Step 5: Future Steps for Improvement (Responsive Design)
The next big step is to ensure your website looks good on every device (phones, tablets, and desktops), this is known as Responsive Web Design. The main idea is to employ CSS Media Queries.
Basic Media Query Example
Put this at the very bottom of your style.css file:
/* Media Query for smaller screens (e.g., phones) */
@media (max-width: 600px) {
/* Reduce padding and margins on small screens */
main {
padding: 10px;
}
/* Make navigation links stack vertically */
nav ul li {
display: block;
margin: 10px 0;
}
/* Reduce font size for h1 */
header h1 {
font-size: 1.5em;
}
}
This instructs the browser: “If the screen width is 600 pixels or smaller, apply these certain style changes.”
Important Things to Know as a Web Designer
| Concept | Description |
| HTML | The structure and content (nouns and verbs). |
| CSS | The style and appearance (adjectives). |
| Selectors | How CSS targets specific HTML elements (h1, .project-card, #about). |
| Classes (.) | Used to apply a style to multiple elements (e.g., .project-card). |
| IDs (#) | Used to apply a style to a unique, single element (e.g., #about). |
| Box Model | Every HTML element is a box with Content, Padding, Border, and Margin. Understanding this is crucial for spacing and layout. |
Now that you have a firm understanding of HTML and CSS, the next challenge is implementing them into real-world examples. Here are the web design challenges and solutions and see how to implement practical solutions.
Real Time Examples for Web Design Tutorial for Learners
It is simpler to understand web design principles when you observe how they are being used in day-to-day websites. Below are some real time examples for web design tutorial concentrating on fundamental principles:
Amazon (E-commerce): Concentrate on User Experience (UX) and Information Hierarchy
- Amazon product pages are a great example of UX.
- Observe how the page is organized: the product image is front and center, the price and “Buy Now” button are directly visible, and customer reviews are readily available.
- This hierarchy directs the user’s attention straight to the most important actions, minimizing friction and maximizing conversion.
- Students should observe how color (for example, the main call-to-action button) is employed in order to attract attention.
Apple.com (Branding & Minimalism): Emphasis on Visual Design and Negative Space
- Apple’s website is a lesson in minimalist, clean design.
- They employ substantial negative space (white space) surrounding elements to create stark contrast between the product images and important features.
- This straightforward method creates a feeling of quality and refinement.
- Students can exercise utilizing large, high-resolution images and minimal text in order to present a compelling message.
The New York Times (News): Readability and Responsive Design Focus
- An online news site such as the NYT deals in huge volumes of content.
- High-contrast text over a white background is utilized for optimal readability.
- Most importantly, the site is absolutely responsive, it makes a smooth transition of its layout, navigation, and image sizes when you are browsing through either a big desktop screen or a tiny smartphone screen.
- Students should study how items stack up and reposition themselves as the browser window gets smaller.
Ready to put these ideas into practice? Here are some more web design project ideas to practice.
FAQs About Web Design Tutorial for Beginners
1.How do I learn web designing?
Begin with HTML (structure) and CSS (style). Take free online tutorials, create small projects such as a portfolio, and study UI/UX principles. Develop the habit of practicing regularly and strive to create responsive designs that are usable on all devices.
2.Can I learn web design by myself?
The vast majority of web designers today are self-taught. Use free resources such as YouTube, web design online tutorials, and documentation such as MDN Web Docs. Project building and portfolio creation are critical for self-instruction. However, hands-on practicing with some online web design course would bring you more exposure and ease the placements.
3.What are the 7 steps to web design?
The usual steps are: 1. Goal Identification, 2. Scope Definition, 3. Content Creation, 4. Visual Design (Wireframing/Mockups), 5. Development (Coding HTML/CSS/JS), 6. Testing, and 7. Launch & Maintenance.
4.Can I learn HTML in 7 days?
Yes, it is possible to learn the fundamental and essential syntax of HTML in 7 days. You’ll learn about tags, layout, and content elements. Nevertheless, fully grasping HTML and properly using CSS and current standards requires more time and hands-on practice.
5.Is AI replacing web design?
AI is revolutionizing, not substituting, web design. AI automation handles repetitive tasks (such as simple layout creation or coding straightforward components), freeing human designers to concentrate on sophisticated strategy, user experience (UX), and creative problem-solving.
6.Is 27 too late to start coding?
No, 27 is not late! The IT sector favors talent and ability over age. Most successful coders begin coding much later. Prioritize steady learning, having a good portfolio, and networking for a successful shift in career.
7.Can I make a website in 2 days?
You certainly can create a simple, static website (such as a basic one-page portfolio) in 2 days by learning HTML and CSS. With website builders such as WordPress or sites such as Carrd, you can also quickly launch a simple website.
8.Is HTML and CSS hard?
No, HTML and CSS are not difficult by nature; they are fairly simple to learn. HTML is markup, and CSS is styling—both are not a complicated programming language. The difficulty lies in the ability to master modern layouts (Flexbox/Grid) and responsive design principles.
9.What are the 7 C’s of a website?
The “7 C’s” are traditional criteria for assessing the effectiveness of a site: Context (Aesthetics/Function), Content (Relevance/Quality), Community (Interactivity), Customization (Personalization), Communication (Feedback), Connection (Links), and Commerce (Transactions).
10.Is HTML basic coding?
HTML is not a programming language but a fundamental markup language. It does specify the structure of content. Although it is central to all web development and employs code-like syntax, it does not possess the logic, functions, or control flow characteristic of real coding languages such as JavaScript.
Conclusion
You’ve done the vital first steps, learning HTML structure and CSS styling basics. You now know that web design isn’t magic, it’s a logical, fulfilling process of marrying creativity and code.Practice is essential. Keep creating, keep testing, and don’t be afraid of mistakes, those are your best teachers! You have the building blocks; now build on it. Ready to take responsive layouts, advanced CSS, and JavaScript interactivity to the next level? Sign up for our comprehensive web design course in Chennai today and become a job-ready, confident developer!