Microsoft is simplifying the installation of the Windows Subsystem for Linux 2 (WSL) on Windows 11 by requiring only one command to download and install all essential components, along with the virtual machine platform and Linux GUI programs. Furthermore, by default, the script installs the most recent Ubuntu distribution. Sharpen your abilities with Softlogic Systems’ Linux Training in Chennai with IBM Certification.
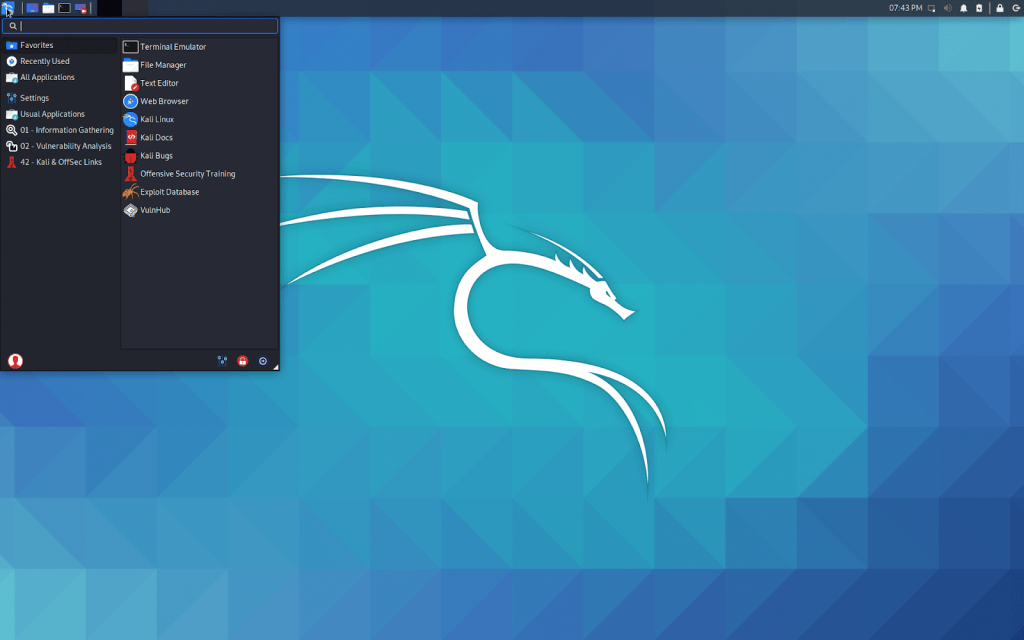
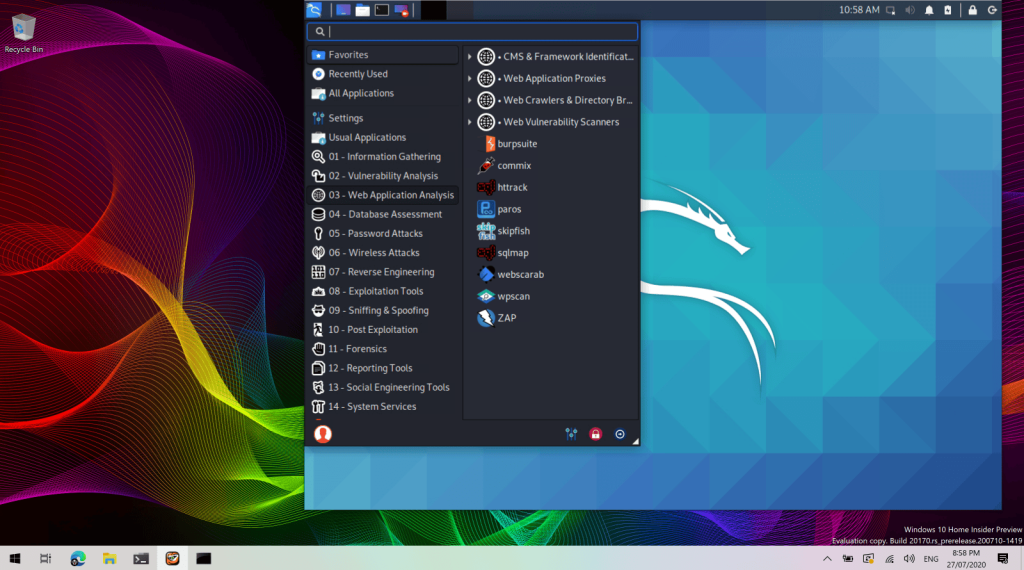
Overview of Kali Linux (Win-Kex)
Win-KeX delivers the following Kali Desktop Experience for Windows Subsystem for Linux (WSL 2):
- Window mode: launch the Kali Linux desktop in a separate window.
- Seamless Mode: Share the Windows desktop between Windows and Kali apps and menus in seamless mode.
- Unprivileged and Root session
- Support for sound
- Kali Linux and Windows apps use a clipboard for cut-and-paste capability.
- Support for multiple sessions: root window, non-priv window, and seamless sessions can all run concurrently.
- WSLg is fully compatible.
Prerequisites for Installing Kali Linux on Windows 11
- Windows 10 or Above
- Windows Terminal
Install Kali Linux in WSL2
- Open PowerShell as Administrator and execute the below code:
Enable-WindowsOptionalFeature -Onlline -FeatureName Microsoft-Windows-Subsystem-Linux
- Restart
- Open PowerShell as administrator and execute the below code
dism.exe /online /enable-feature /featurename:VirtualMachinePlatform /all /norestart
dism.exe /online /enable-feature /featurename:Microsoft-Windows-Subsystem-Linux /all /norestart
- Restart
- Now, download and install the WSL2 Linux Kernel from https://learn.microsoft.com/en-us/windows/wsl/install-manual#step-4—download-the-linux-kernel-update-package
- Open PowerShell as Admin and execute: ws1 –set-default-version 2
- Install Kali Linux from the Microsoft Store
- Now, start run Kali and Complete the initial setup
Install Win-Kex
kali@kali:~$ sudo apt update
kali@kali:~$
kali@kali:~$ sudo apt install -y kali-win-kex
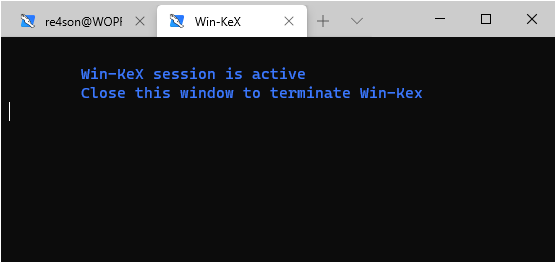
Run with Kex
Following three modes will be supported by Win-Kex
Window Mode:
Run to launch Win-KeX in Window mode with sound support
kex –win -s
Enhanced Session Mode:

Run the following command to launch Win-KeX in Enhanced Session Mode with sound support and an arm workaround.
kex –esm –ip -s
Seamless Mode:
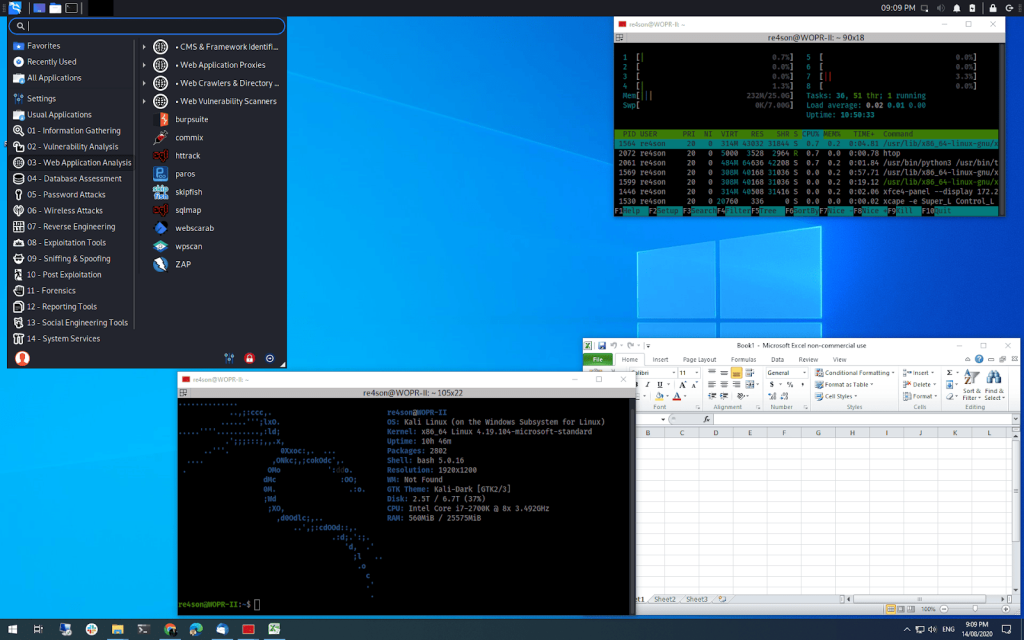
Execute this command to launch Win-KeX in seamless mode with sound support.
kex –sl -s
Optional Steps
Why not install “Kali with the lot” if you have the room?
sudo apt install -y kali-linux-large

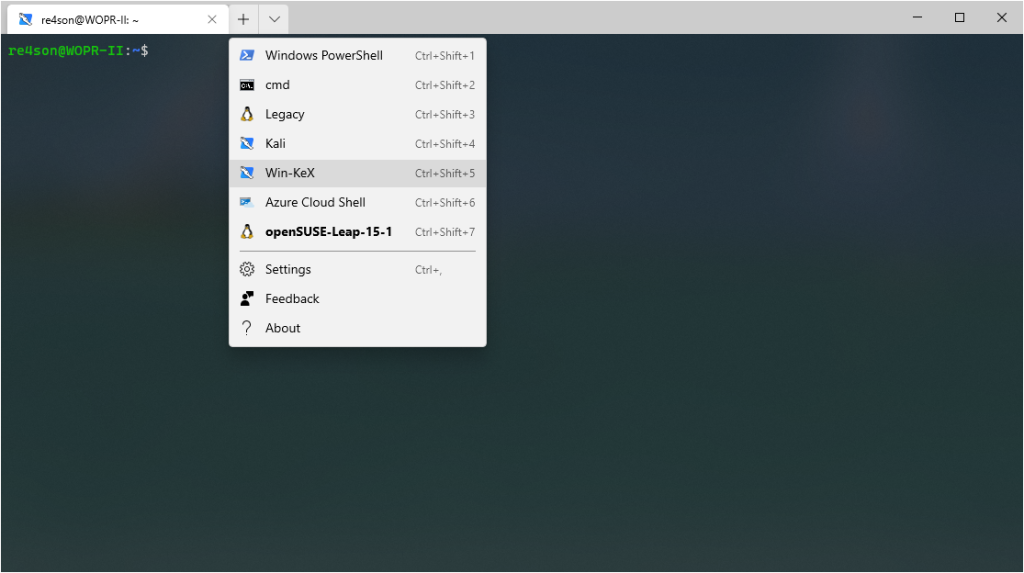
- Create a shortcut for Windows Terminal

Select one from the below options
Basic Win-KeX in Window Mode with Sound
{
“guid”: “{55ca431a-3a87-5fb3-83cd-11ececc031d2}”,
“hidden”: false,
“name”: “Win-KeX”,
“commandline”: “wsl -d kali-linux kex –wtstart -s”,
},
Win-KeX Advanced in Window Mode with Sound – Kali Icon and Start in Kali Home Directory:
After copying the kali-menu.png file to your Windows picture directory, add the icon and start directory to your WT configuration:
{
“guid”: “{55ca431a-3a87-5fb3-83cd-11ececc031d2}”,
“hidden”: false,
“icon”: “file:///c:/users/<windows user>/pictures/icons/kali-menu.png”,
“name”: “Win-KeX”,
“commandline”: “wsl -d kali-linux kex –wtstart -s”,
“startingDirectory” : “//wsl$/kali-linux/home/<kali user>”
},
Basic Win-KeX in Seamless Mode with Sound
{
“guid”: “{55ca431a-3a87-5fb3-83cd-11ececc031d2}”,
“hidden”: false,
“name”: “Win-KeX”,
“commandline”: “wsl -d kali-linux kex –sl –wtstart -s”,
},
Advanced Win-KeX in Seamless Mode with Sound – Kali icon and launch from the Kali home directory:
After copying the kali-menu.png icon and start directory to your Windows picture directory, add them to your WT configuration:
{
“guid”: “{55ca431a-3a87-5fb3-83cd-11ececc031d2}”,
“hidden”: false,
“icon”: “file:///c:/users/<windows user>/pictures/icons/kali-menu.png”,
“name”: “Win-KeX”,
“commandline”: “wsl -d kali-linux kex –sl –wtstart -s”,
“startingDirectory” : “//wsl$/kali-linux/home/<kali user>”
},
Basic Win-KeX in ESM mode with Sound
{
“guid”: “{55ca431a-3a87-5fb3-83cd-11ecedc031d2}”,
“hidden”: false,
“name”: “Win-KeX”,
“commandline”: “wsl -d kali-linux kex –esm –wtstart -s”,
},
Advanced Win-KeX in ESM Mode with Sound – Kali Icon and Begin in Kali Home Directory
Now, copy the kali-menu.png icon to your Windows picture directory, then add the icon and start directory to your WT configuration:
{
“guid”: “{55ca431a-3a87-5fb3-83cd-11ecedd031d2}”,
“hidden”: false,
“icon”: “file:///c:/users/<windows user>/pictures/icons/kali-menu.png”,
“name”: “Win-KeX”,
“commandline”: “wsl -d kali-linux kex –esm –wtstart -s”,
“startingDirectory” : “//wsl$/kali-linux/home/<kali user>”
},
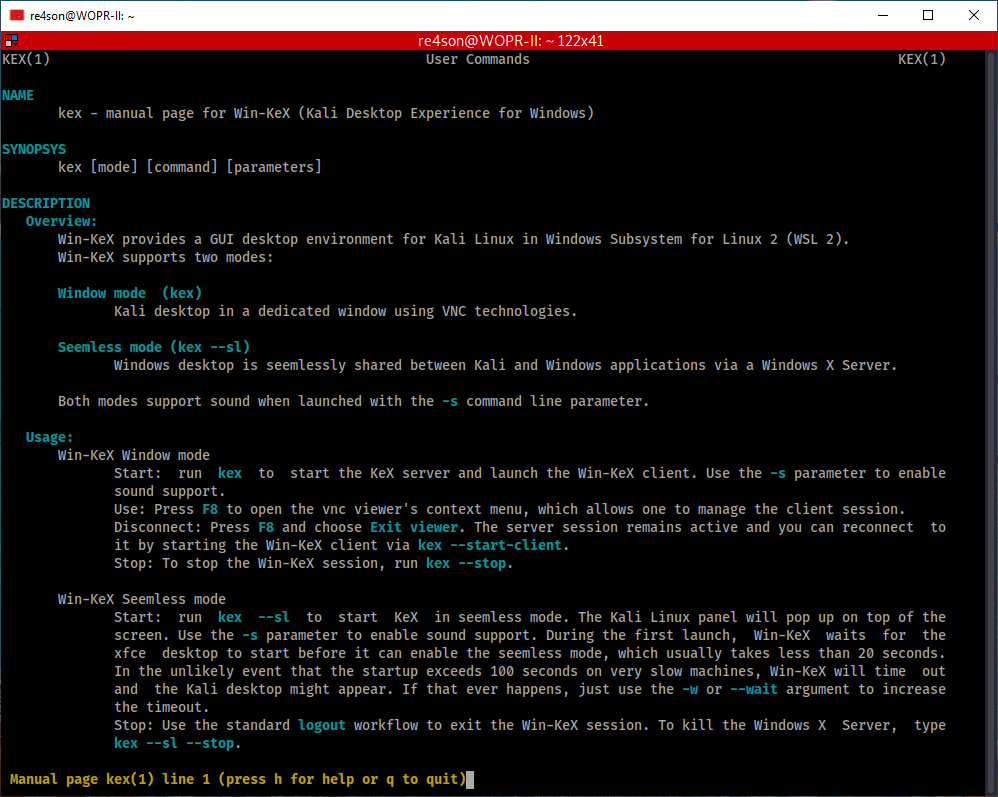
Help
For more info, please contact:
kex –help
on check the manpage through:
man kex
Conclusion
There are advantages to installing Kali Linux alongside a Windows system. However, you must be cautious during the setting process. First, ensure that any vital data on your Windows system has been backed up. Because you will be updating your hard drive, you should save this backup on external storage. Learn how to work efficiently on Linux OS on Windows through our Linux Training in Chennai with Placement Assistance at Softlogic Systems.